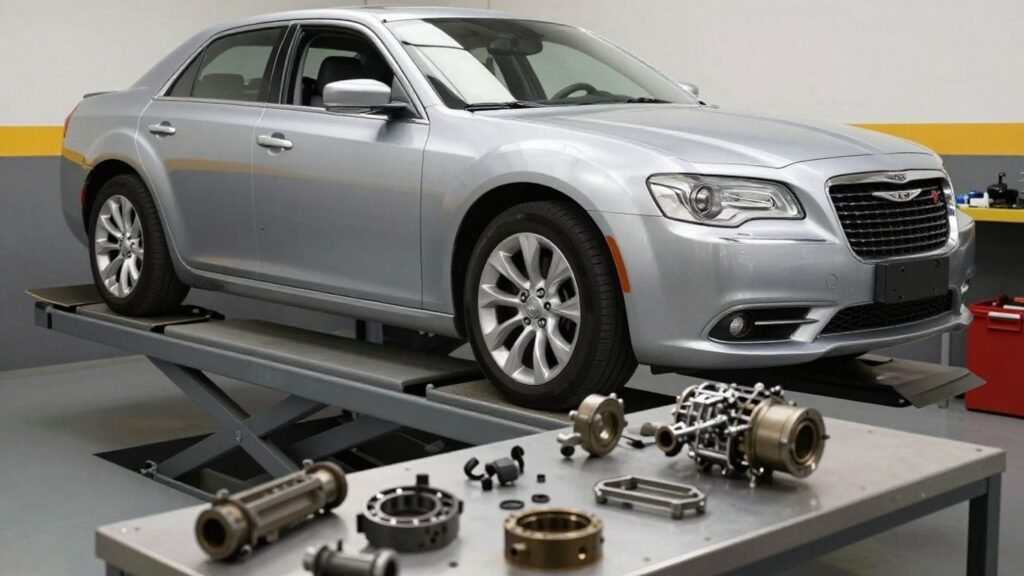
Chrysler 200 dismantled: A comprehensive guide to vehicle teardown and salvage
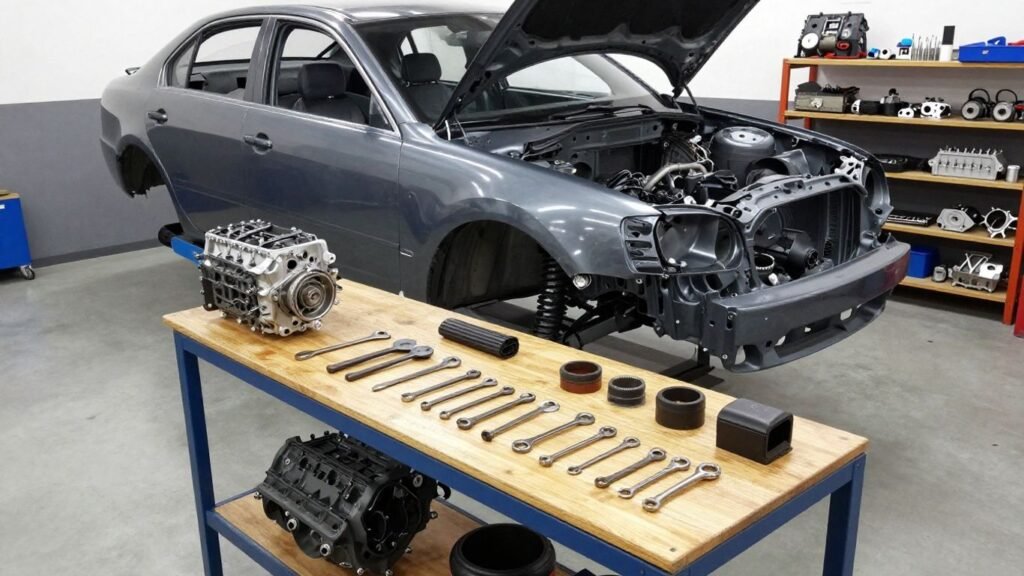
Key Takeaways Carefully disassembling a vehicle requires patience, the right approach to hazardous materials, and a clear system for tracking components. Achieving a clean salvage of a Chrysler 200 dismantled for parts ensures that value is preserved for future use or resale. Establish a safe, well-lit workspace before beginning any mechanical work. Use specialized containers for draining and securing automotive fluids. Label every wiring harness and fastener to simplify future reassembly. Follow strict safety protocols when depressurizing fuel and cooling systems. Sort salvaged mechanical parts based on wear levels and testing results. Preparation and essential safety Getting a vehicle ready for a complete teardown requires discipline and a mindset geared toward organization. You have to ensure that every step is taken to mitigate risk, protecting both yourself and the components you intend to reclaim from the chassis. A systematic approach ensures that nothing is overlooked during the process. Choosing the right tool kit for teardown A comprehensive set of metric sockets, wrenches, and specialized trim removal tools is non-negotiable for this task. Using the correct size helps prevent stripped bolts and broken plastic clips, which is essential when preserving parts for refurbishment. Setting up a structured workspace Your work area should provide enough clearance to safely navigate around the vehicle from all sides. A flat, level concrete surface allows for stabilized jacks, while clear labeling stations help keep track of the sheer volume of parts coming off the frame. Required personal protective equipment Handling automotive chemicals and sharp metal edges demands proper gear like impact-resistant gloves and eye protection. Safety gear acts as your primary defense against the fluids and shards you will inevitably encounter throughout the day. Initial documentation of vehicle condition Before picking up a tool, take detailed photographs and notes of the vehicle’s current state. Mapping out the layout of components serves as a visual guide and helps prevent confusion if you end up with extra fasteners after a long day of work. Interior component removal Stripping the interior requires a gentle touch because the plastic trim and electrical connectors are easily damaged. You should move logically from the central features outward toward the door panels to maintain a clear line of sight while working in confined spaces. This segment of the project often reveals the most about the vehicle’s long-term utility. Removing the center console and infotainment stack Start by locating the hidden fasteners beneath the shift boot and storage compartments. Gently prying these sections away will reveal the main unit, allowing you to safely disconnect sensitive electronics without causing strain to the underlying cable harnesses. Safely extracting front and rear seats Slide the seats fully forward to access the rear bolts, then move them backward to reach the front, ensuring you disconnect any under-seat wiring before pulling the seats from the cabin. It is a heavy, awkward task that benefits from having an extra set of hands. Taking out dashboard trim and electronic modules Work methodically to remove the various fascia panels around the climate controls and instrument cluster. These modules are often held by clips that require specific leverage points to release without snapping the plastic tabs. Stripping carpeting and internal moldings Removing the floor lining and door sills often reveals heavy-duty insulation that must be cleared to reach the main chassis wiring. The following table identifies typical fastener types found during this phase. Part Location Fastener Type Tool Required Center Console Plastic Clip Trim Tool Door Sill Plate Metal Screw Phillips Driver Dashboard Trim Locking Tab Flathead Driver Maintaining a clean catalog of these hardware types keeps your storage boxes organized and prevents mixing up bolts between different interior assemblies. Engine bay and drivetrain disassembly Once the cabin is clear, the focus shifts to the mechanical heart of the vehicle. This section involves working with heavier components and managing substances that require careful handling to avoid spilling or environmental contamination. The process involves systematically untangling the engine from its mounting points. Draining and neutralizing hazardous liquids Begin by placing large basins beneath the radiator and oil pan, as these fluids are critical to contain for safe disposal. Once drained, wipe down the area to ensure your workspace remains clean and free of accidental slip hazards. Removing the intake manifold and cooling system Detach the vacuum lines and electrical connections linked to the intake before unbolting the housing from the block. Careful removal of the radiator hoses and thermostat assembly will allow you to clear space for easier access to the engine itself. Techniques for engine and transmission extraction Utilizing a hoist is standard procedure for lifting the engine and transmission as a single linked assembly. Always verify that all ground straps and transmission linkages are fully detached before applying tension to the hoist, as missing one connection can cause significant structural damage to the harness or surrounding engine bay components. Careful observation is required during the initial lift to ensure the assembly clears the chassis and does not impact the subframe while drifting outward. Salvaging emission control parts and sensors These components are often sensitive and require careful extraction because they are frequently exposed to high heat under the hood. Removing them early allows for an easier path when pulling the larger mechanical units later in the day. Exterior body panel salvage Extracting body panels is all about preserving the integrity of the paint and the underlying structural connections. You want to avoid bending the metal while working to undo heavy-duty bolts that have been exposed to the elements for years. When you take your time, you keep components in salvageable condition. Detaching bumpers and front fascia Start at the wheel wells to release the plastic fender liners, then move toward the center grille area to undo the main support mounts. Once these are loosened, the bumper cover should pull away from its retaining clips without extra stress. Removing exterior doors and deck lids Support the weight of the door with an adjustable stand before unbolting the hinges to prevent damage to