Key Takeaways
The right replacement starts with identifying the boot correctly, then checking its condition and fitment before paying. A careful comparison can make used Chrysler boots a sensible, affordable repair choice.
- Identify whether you need a CV, suspension, shift, or convertible-top boot.
- Match the part with your Chrysler’s model, year, trim, drivetrain, and side.
- Inspect rubber, stitching, clamps, retainers, and mounting points before buying.
- Compare used and new options by condition, completeness, price, and warranty.
- Confirm fitment with the VIN or part number before installation.
Identify which Chrysler boot you need
The word “boot” covers several unrelated vehicle parts, so the first step is to work out what has failed. A CV boot protects a joint from dirt while holding grease in place; a shift boot covers the gear lever inside the cabin. Suspension and convertible-top boots have different shapes, materials, and mounting methods. Knowing the part’s job prevents an inexpensive-looking purchase from becoming an expensive mistake.
Distinguishing CV, suspension, shift, and convertible-top boots
Start with location rather than appearance. CV boots sit around driveshaft joints near the wheels or transmission, suspension boots may cover joints or moving components, and shift boots are visible around the gear selector. A convertible-top boot belongs to the roof system and may include sewn sections, clips, or special fasteners.
A photograph can be misleading when a seller uses the general word “boot.” Compare the old part’s position, opening diameter, length, and attachment points. Correct identification saves money because each type requires a different inspection and installation approach.
Matching the boot to your Chrysler model and year
Model and year are useful starting points, but they rarely tell the whole story. Chrysler vehicles can have different engines, transmissions, drivetrains, body styles, and production changes within the same model line. The same-looking component may also vary between front-wheel-drive and all-wheel-drive applications.
Write down the vehicle identification number, build date if available, transmission type, and whether the part is fitted on the left or right. If you can remove the old boot safely, record its dimensions and photograph its clamps or retaining points before ordering.
Finding the correct part number and fitment details
A part number printed or moulded into the original component is often more useful than a broad model description. Search for additional numbers on nearby hardware, packaging, or the assembly the boot protects. Then compare those details with the seller’s fitment notes rather than relying on a photograph alone.
Ask whether the quoted number identifies the boot itself or a complete assembly. Some listings describe a replacement cover, while others include a joint, housing, frame, or mounting hardware. That distinction affects both price and the work required after delivery.
Understanding used, rebuilt, and aftermarket options
A used boot is generally an original component removed from another vehicle, while a rebuilt part may include renewed or replaced elements. An aftermarket boot is made by a supplier other than the vehicle manufacturer and may be sold as a standalone replacement or within a kit.
These categories are not interchangeable. A clean original boot may suit a restoration or a low-use vehicle, while a new aftermarket kit may be more sensible where the rubber is already ageing. Read exactly what is included and ask about the part’s history before treating any option as equivalent to another.
Inspect the condition before buying
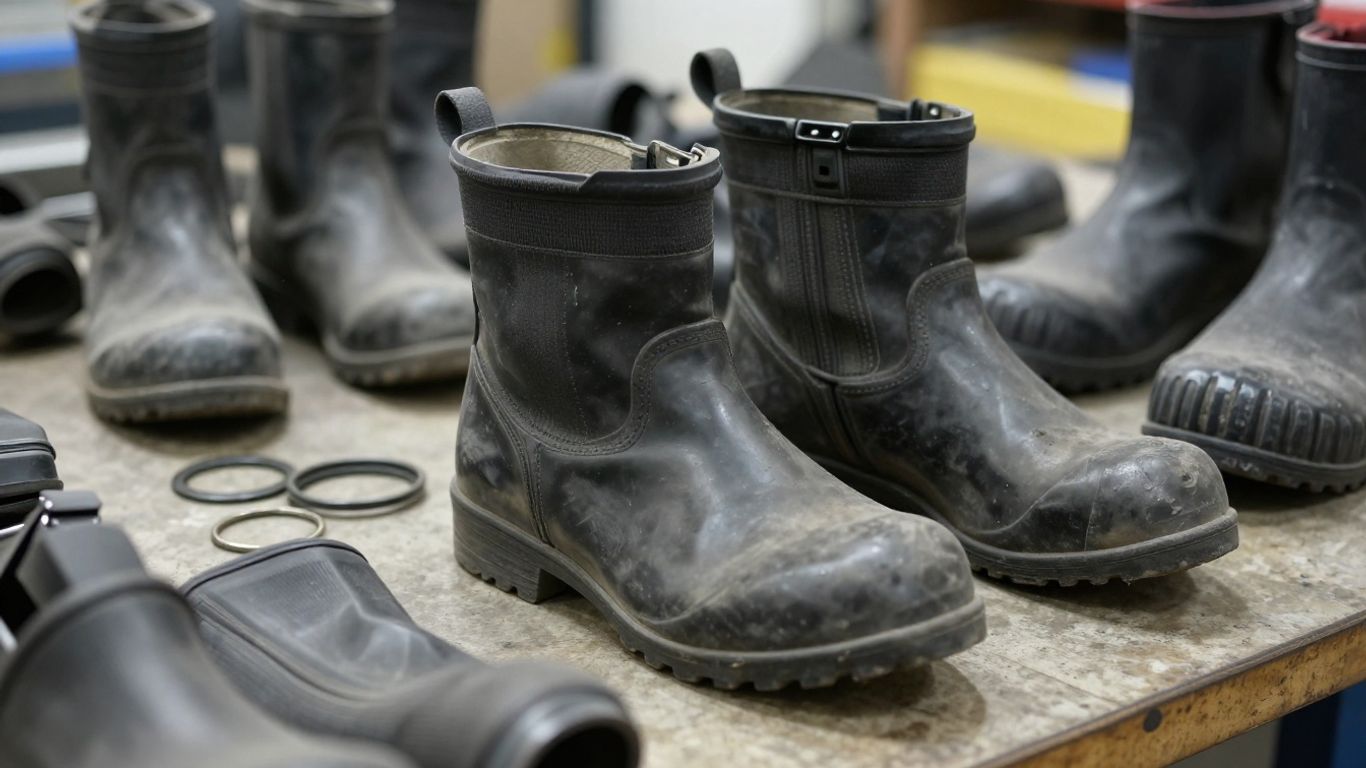
Condition matters more than a low listing price when the part is made from flexible rubber or fabric. Age, heat, grease, road debris, and storage conditions can all affect a boot before it reaches your vehicle. Ask for clear, close photographs rather than judging from one distant image.
Checking rubber for cracks, tears, and hardening
Flex the rubber visually, or ask the seller to show it flexed if the part is off the vehicle. Look for splits between folds, pinholes, surface crazing, flattened areas, and a shiny or brittle texture. A boot that looks intact while relaxed may open up when stretched during operation.
Colour alone is not a reliable condition test. Dirt can hide damage, while a clean-looking part may have hardened from age. Ask how the part was stored and whether the seller can show both the inside and outside surfaces.
Looking for grease leaks around CV boots
A CV boot with grease around its folds, clamps, or nearby suspension parts may have already failed. Grease thrown outward in a circular pattern can indicate that the joint was operating with a split boot. The joint itself may then need inspection or replacement, not just a new cover.
When reviewing photographs, look beyond the boot and check the surrounding shaft and joint. A dry, clean-looking exterior is reassuring, but it does not prove the joint is sound. Ask whether the part was removed from a running vehicle and whether any noise or vibration was reported.
Examining stitching, clips, retainers, and mounting points
Fabric and leather-style boots need close inspection around seams, stitching, edge binding, and fastener holes. Rubber boots need sound lips, grooves, clamps, and retaining rings. For a convertible-top boot, missing clips can be just as troublesome as a tear because the part may not stay secured in use.
Make sure mounting points are not stretched, torn, warped, or missing. If a seller photographs only the front face, request images of the underside and every attachment edge. Those less attractive details often determine whether the part can actually be installed.
Evaluating photos and requesting missing details
Good listing photographs should show the whole part, close views of wear areas, identification marks, and the hardware that comes with it. Ask for measurements when the listing does not provide them, especially overall length, opening sizes, and the distance between mounting points.
Use a short, specific message rather than asking whether the part is “good.” Request confirmation of the donor model and year, side of the vehicle, part number, damage, included clamps, and return terms. A seller who cannot answer basic fitment questions may not be the right source for a precision replacement.
Choose between used and new replacement boots
There is no universal winner between a used part and a new replacement. The best choice depends on the boot’s material, availability, age, installation effort, and the consequences of another failure. A cheap part is less attractive if fitting it requires repeating several hours of labour.
When a used boot can be a practical choice
A used boot can make sense when the original design is difficult to source, the vehicle is older, or the part is a durable trim component that has been carefully stored. It can also be useful when originality matters and a replacement made today would look or attach differently.
The condition should match the job. A clean, flexible boot with intact fasteners may be a reasonable purchase, but an old CV boot deserves more caution because hidden hardening can shorten its service life. Factor in the cost of cleaning, new clamps, grease, and possible removal if the part fails.
Situations that call for a new aftermarket boot
Choose new when the boot is a high-wear item, the used example shows age, or installation is difficult enough that a second repair would be costly. New rubber usually provides a clearer starting point, especially when the replacement comes with the correct grease, clamps, or mounting hardware.
An aftermarket part can also be practical where the original is unavailable or priced beyond the vehicle’s value. Confirm that its dimensions and material suit the application. “New” does not automatically mean correct, so fitment still comes first.
Comparing durability, price, and warranty coverage
Compare the complete cost rather than the ticket price. Include shipping, required hardware, cleaning, specialist labour, and the inconvenience of returning a wrong or damaged part. A warranty is useful only when its duration, coverage, and return process are clear.
The following comparison helps frame the decision without treating one category as suitable for every vehicle:
| Option | Main advantage | Main risk | Best question to ask |
|---|---|---|---|
| Used original | May match the factory design | Age or hidden wear | How was it inspected and stored? |
| Rebuilt assembly | May include renewed components | Scope of rebuilding may vary | What exactly was replaced? |
| New aftermarket | Fresh material and available kits | Fit and quality differ by supplier | Does the part number cover my configuration? |
Use the answers to judge value, not just the price shown beside the photograph. For a difficult installation, a better-documented option may be worth more than the cheapest listing.
Avoiding low-quality or incomplete parts
Be cautious with parts that have vague descriptions, stock photographs, no dimensions, or unexplained marks. Missing clamps, clips, grease, brackets, or retaining rings may turn a seemingly complete purchase into a second order. A damaged package can also affect flexible parts, so inspect the delivery before discarding anything.
Ask for a written list of included components. If the seller cannot confirm whether the item is a boot alone or a complete kit, pause before buying. Clear descriptions reduce the chance of discovering an omission after the vehicle is already apart.
Verify compatibility with your Chrysler
Fitment is more than matching the badge on the bonnet. Chrysler parts can change with drivetrain, engine, transmission, trim, body style, and production date. Take the time to compare the vehicle and the listing line by line before committing to used Chrysler boots.
Comparing engine, transmission, and drivetrain configurations
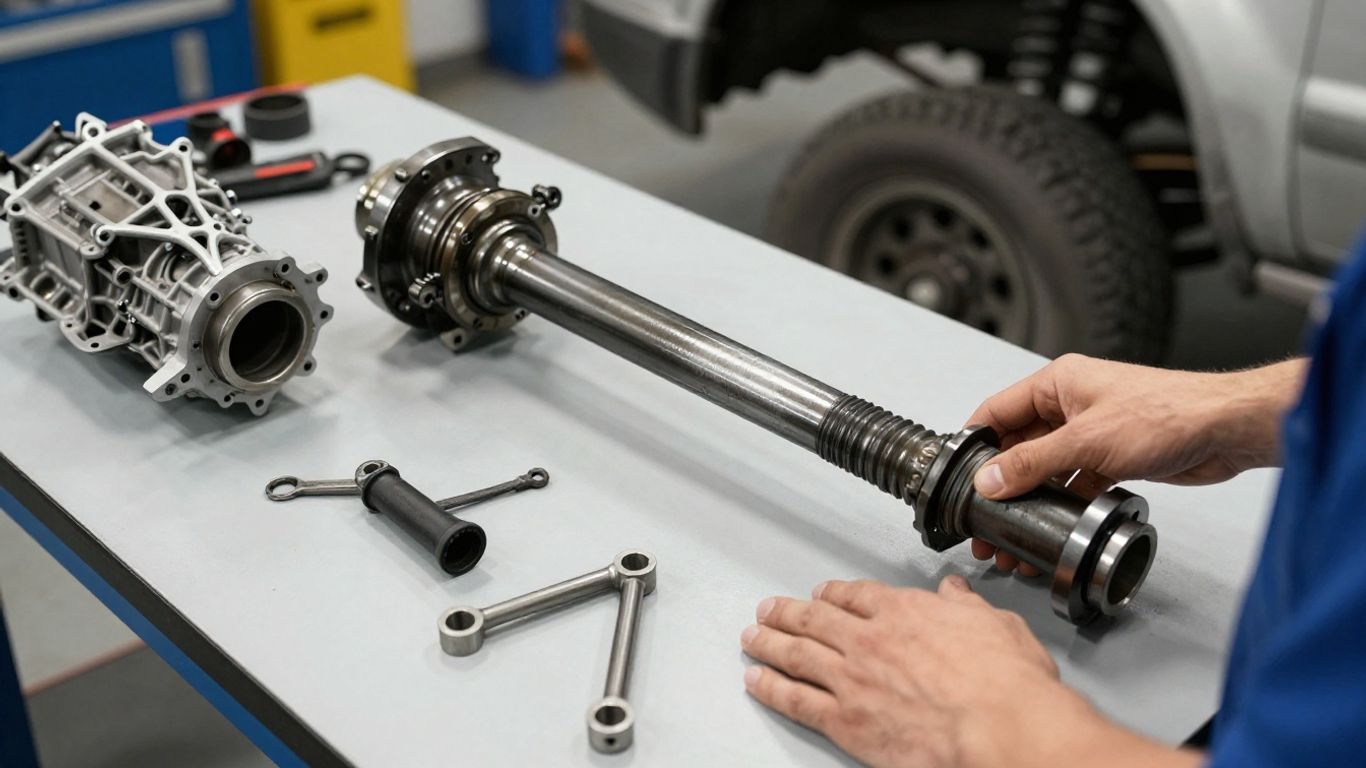
Begin with the engine and transmission, then establish whether the vehicle is front-wheel drive, rear-wheel drive, or all-wheel drive. CV and suspension components are especially sensitive to these differences because shaft length, joint design, and surrounding clearances can change.
Do not assume that two vehicles with the same model name share the same boot. Record the full configuration from the vehicle documents or service information, then provide it to the seller. A precise question is easier to answer than a general request for “a boot for a Chrysler.”
Checking left-side and right-side differences
Some boots are symmetrical, but others are not. Left and right shafts can differ in length or joint arrangement, and interior or convertible-top components may have side-specific clips or seams. Confirm the side before ordering even when the listing photograph looks familiar.
Compare the old part with the listing from the same viewing angle. Note the direction of folds, position of tabs, and shape of each opening. If the seller labels the part only as “front,” ask whether that means either side or a particular side.
Confirming generation, trim, and production changes
A mid-generation update can alter a mounting point, material, fastener, or boot shape without changing the model name. Trim levels may also bring different interiors or roof equipment. Production dates can therefore be as useful as model years.
Check whether the listing specifies an early or late production version. If it does not, ask for the donor vehicle’s build details and compare the photographs with your original part. This is particularly helpful for older vehicles with several revisions.
Using VIN and part-number verification
The VIN gives a parts adviser a stronger basis for checking the vehicle than a model name alone. Pair it with the original part number, clear photographs, and the location of the boot. If numbers conflict, resolve that conflict before ordering rather than hoping the dimensions will be close enough.
Keep copies of the listing, messages, and fitment confirmation. Those records help if the delivered part differs from the description and make it easier to explain the issue during a return. A few minutes of documentation can prevent a long installation delay.
Buy used Chrysler boots from a reliable source
A reliable source should make the part’s identity, condition, price, and return terms reasonably clear. Used-parts sellers vary in how much information they record, so the buyer still has a role in checking the details. Look for evidence of organised inventory and straightforward communication rather than relying on a low price alone.
Evaluating salvage yards and used-parts dealers
Ask how the part was removed, whether the donor vehicle was complete, and whether the boot was inspected before listing. A yard that can identify the donor vehicle and provide additional photographs is easier to deal with than one offering only a generic description.
Used-parts dealers may also distinguish between the component and a complete assembly. Confirm which one you are buying, especially if the boot is attached to a shaft, selector frame, roof mechanism, or other larger part. That distinction affects shipping and installation.
Reviewing seller ratings and return policies
Ratings can reveal patterns such as inaccurate descriptions, poor packaging, or slow responses, but read the written reviews rather than focusing only on the score. The return policy should explain the time limit, condition required, excluded labour, and responsibility for return shipping.
Save the listing before purchase because descriptions and photographs can change. If the part is sold as tested or inspected, ask what those words mean in practical terms. Clear expectations are more valuable than a vague assurance.
Confirming what hardware is included
Before paying, confirm whether clamps, clips, retainers, brackets, grease, seals, or fasteners are included. Small pieces may be unavailable separately or may add considerable delay if they need to be sourced after the main part arrives.
Request a photograph of everything in the package when the listing is unclear. Match the hardware to your old component and check whether any fastener is bent, corroded, stretched, or missing. A complete used part is often better value than a cheaper incomplete one.
Calculating shipping costs and total value
Flexible parts can be damaged by compression, while larger assemblies may carry surprisingly high freight charges. Add shipping, taxes, cleaning supplies, replacement hardware, and possible return costs to the advertised price. Then compare that total with a new replacement from a reputable car parts supplier.
The best car parts network can make sourcing faster across Melbourne, Sydney, Brisbane, and nationwide, but speed should not replace fitment checks. Ask when the part will ship, how it will be packaged, and whether tracking is supplied. A modestly higher total may be worthwhile when delivery and support are clearer.
Install and maintain the replacement boot
Installation quality determines whether the replacement protects the component as intended. Even a correctly matched boot can fail if a sealing lip is twisted, a clamp is loose, or the contact surface is dirty. Follow the vehicle’s service information and use a qualified mechanic when the job involves safety-critical suspension or drivetrain work.
Preparing the vehicle and required tools
Park on a stable, level surface, secure the vehicle properly, and gather the tools before dismantling anything. Depending on the boot, you may need sockets, pliers, a clamp tool, cleaning materials, a torque wrench, replacement fasteners, and the specified grease.
Photograph the original arrangement before removal. Mark the position of clamps or retainers where appropriate, and protect open joints from dust. Never support a raised vehicle only with a jack, and do not work beneath it until it is securely supported.
Following the correct installation procedure
Remove the old boot without damaging the shaft, joint, housing, trim, or mounting surface. Clean away old grease or debris, inspect the protected component, and compare the new boot with the original before fitting it. The replacement should sit naturally without being stretched, twisted, or forced over the wrong edge.
Follow the specified order for fitting, greasing, sealing, and tightening. If the service procedure calls for a particular clamp position or torque, use that information rather than estimating. Reassemble surrounding parts carefully so that nothing rubs against the boot through its full range of movement.
Replacing clamps, grease, and related hardware
Reuse hardware only when the service instructions allow it and the pieces remain sound. Many CV boot repairs require fresh grease and new clamps, while trim or convertible-top boots may need undamaged clips and retainers to hold their shape.
Use the correct grease for the joint or application, not a general substitute chosen by appearance. Wipe away excess material from nearby surfaces and check that every clamp is seated evenly. Small installation details often determine whether the boot remains sealed after the first drive.
Recognizing signs of an installation problem
Inspect the repair immediately for pinched folds, displaced edges, loose clamps, grease escaping, or contact with nearby components. During a cautious test drive, listen for unusual clicking, vibration, rubbing, or movement. Stop if a new symptom appears rather than continuing until the part fails completely.
Recheck the repair after the first few trips, particularly if the boot was fitted to a moving joint. Early inspection can catch a shifted clamp or twisted fold before dirt enters the joint. If the problem involves steering, suspension, or drivetrain operation, have the vehicle assessed by a qualified professional.
Conclusion
Buying used Chrysler boots successfully comes down to careful identification, honest condition checks, precise compatibility research, and a realistic view of the complete repair cost. Compare the old part with the listing, confirm the VIN or part number, and make sure the seller explains what is included. With those steps in place, a used replacement can be a practical solution rather than a gamble.