Key Takeaways
A suitable bonnet should match your Chrysler precisely, not merely look similar in a listing. Careful checks before purchase and patient alignment during fitting can prevent expensive surprises.
- Match the bonnet to the exact model, generation, trim, and VIN.
- Compare used, reconditioned, genuine, and aftermarket options carefully.
- Inspect metal, paint, rust, hinges, latches, and included hardware.
- Confirm seller policies and delivery arrangements before paying.
- Test alignment, locking, release mechanisms, and weather protection after fitting.
Identify the right Chrysler bonnet for your vehicle
A bonnet, also called a hood, is a large body panel with little room for guesswork. Even closely related Chrysler vehicles can use different shapes, mounting points, latches, or insulation. Before searching, record the vehicle identification number, registration details, model year, and body style. That information gives sellers a much better chance of locating a panel that fits properly.
Match the bonnet to the exact Chrysler model
Start with the full model name rather than searching for a generic Chrysler bonnet. A 300C, Voyager, PT Cruiser, Crossfire, or Ypsilon may have entirely different dimensions and hinge positions. Note whether the vehicle is a sedan, wagon, people mover, or another body style, then compare the seller’s description with your vehicle documents and the damaged panel.
A photograph can help, but it should support—not replace—the written identification. Grille cut-outs, headlamp edges, washer-jet holes, and underside bracing are useful visual clues when two listings appear similar.
Confirm the model year and generation
Model names often continue across several generations, while the bonnet changes with a facelift or platform update. Check the production period and generation code wherever possible. A listing that says only “Chrysler 300 bonnet” leaves too much uncertainty, particularly when the same name covers several years.
Ask for the donor vehicle’s year if it is not shown. A seller who can provide that detail, along with clear images of the underside and mounting areas, is easier to assess than one offering only a broad fitment statement.
Check trim levels and body-style differences
Trim differences can affect more than badges and interior equipment. Some versions may have different grille profiles, vents, insulation, washer fittings, or safety-related hardware. A bonnet from a performance or luxury trim might look close enough from above while being inconveniently different underneath.
Write down any visible features on your existing panel before ordering. Include vents, moulded channels, badge holes, insulation clips, and nozzle openings. This small record makes comparison faster and gives the seller useful information.
Use the VIN for accurate part verification
The VIN is the strongest starting point when a part number is unclear. Give the complete VIN to the seller and ask them to confirm compatibility rather than assuming that a model name is sufficient. If a part number is stamped or printed on the original bonnet, share that too, but do not rely on it alone if the panel may have been replaced previously.
The best car parts network helps make finding a suitable used, genuine, or aftermarket part fast and affordable, including for customers in Melbourne, Sydney, Brisbane, and across Australia. Still, final verification should remain a shared step between you, the seller, and the installer.
Choose between used, reconditioned, and aftermarket bonnets
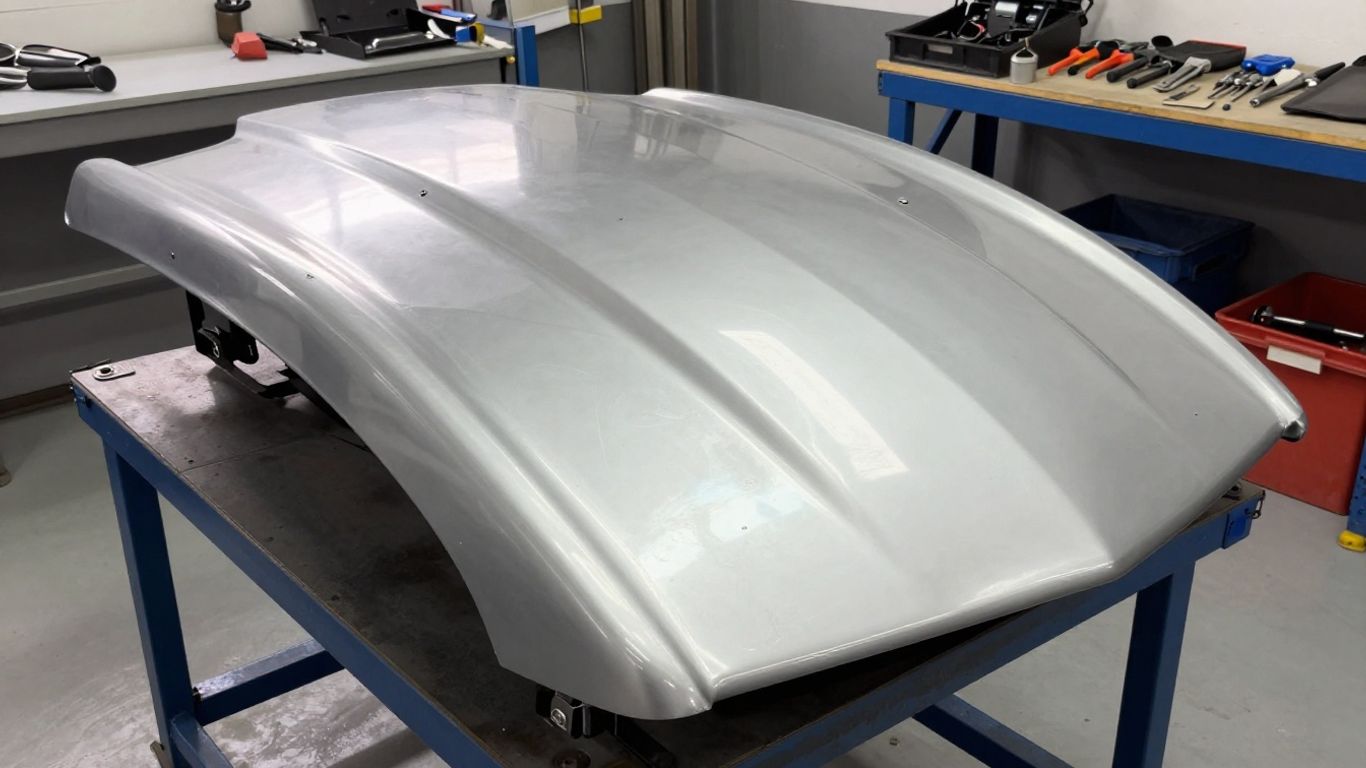
Price is only one part of the decision. A used bonnet may be ideal when it is straight, rust-free, and already close to your vehicle’s color, while a reconditioned or aftermarket panel may make more sense when preparation and paintwork are expected. Think about the total installed cost, including freight, refinishing, hardware, and labor.
There is no universally best choice. The right option depends on the extent of the damage, the condition of your existing fittings, how long you plan to keep the vehicle, and whether an exact genuine panel is readily available.
Compare condition, price, and expected lifespan
A low-priced panel can become expensive if it needs extensive straightening, rust treatment, or paint correction. Conversely, a slightly dearer panel that arrives straight and complete may reduce workshop time. Consider the likely lifespan of the metal and finish, not just the online price.
Use a simple comparison before committing. The figures do not need to be exact, but they should include the costs that are easy to overlook.
| Option | Typical preparation | Main advantage | Main caution |
|---|---|---|---|
| Used genuine bonnet | Cleaning, minor repair, possible paintwork | Original shape and fittings | Previous damage may be hidden |
| Reconditioned bonnet | Inspection, straightening, priming, or refinishing | More preparation may already be complete | Quality varies between sellers |
| Aftermarket bonnet | Usually paint preparation and fitment checks | New panel availability and price | Gaps, contours, or hardware may differ |
| Existing panel repair | Dent repair and refinishing | Retains the known fit | Not suitable for severe distortion or rust |
The cheapest option on the table is not automatically the most economical. Compare each panel’s condition and required work with the labor rate at the workshop that will fit it.
Understand what reconditioned bonnet sellers should include
“Reconditioned” should mean more than a quick wash and a fresh photograph. Ask what work was completed: dent removal, rust treatment, surface preparation, priming, repainting, replacement of damaged fittings, or simply cosmetic cleaning. Request close images of the underside, leading edge, corners, and hinge areas.
A responsible description should also identify remaining imperfections. Small waves, filled holes, or repaired brackets may be acceptable, but they should not be discovered only after delivery. Clarify whether the panel is supplied painted, primed, or ready for color matching.
Weigh aftermarket panels against genuine Chrysler parts
An aftermarket panel can be a practical choice when a genuine bonnet is scarce or the price difference is substantial. Check the manufacturer or part reference, included fittings, and whether the panel is intended for your exact generation. Fit and finish can vary, so ask about known adjustments before purchase.
A genuine used panel may reduce uncertainty around contours and attachment points because it came from the same vehicle family. That does not make every used panel perfect; its previous life still needs careful inspection.
Decide when a replacement is better than a repair
Repair is worth considering when the damage is shallow, the edges and mounting points are sound, and the metal has not stretched badly. Replacement becomes more sensible when the bonnet is folded, heavily creased, rusted through, or distorted near the latch and hinges.
A repairer can judge whether the panel will return to a safe, even shape. Do not choose repair solely because the purchase price is lower if repeated filling and alignment work will cost more than a sound replacement.
Inspect second hand Chrysler bonnets before buying
Pictures and descriptions narrow the field, but they do not tell the whole story. Body panels can look tidy from the front while carrying rust along the rear edge or damage around a hinge. If you can inspect the bonnet in person, view it in natural light and examine both sides at a shallow angle.
For shipped panels, ask for current photographs rather than relying on old stock images. The aim is to understand not only how the bonnet looks, but also how much work it will need before installation.
Look for dents, creases, and repaired areas
Run your eyes along the outer skin and compare both front corners, the center section, and the rear edge. Sharp creases can indicate stretched metal that will be difficult to restore. Uneven reflections often reveal filler, ripples, or previous straightening that is not obvious in a straight-on photograph.
Ask whether the panel has been repaired and, if so, where. A professionally repaired bonnet can still be useful, but the quality of the repair matters more than the fact that repair work was performed.
Check for rust around edges and mounting points
Inspect the hemmed edges, underside seams, latch opening, and areas around the hinge brackets. Surface corrosion may be treatable, while bubbling paint and flaking metal suggest a deeper problem. Pay special attention to the front lip, where chips and trapped moisture can start corrosion.
Rust near a mounting point deserves extra caution because it can affect alignment and strength. Ask for close-up photographs if those areas are missing from the listing.
Examine hinges, latches, insulation, and hardware
A bonnet is more than its painted outer skin. Check whether hinges, latch components, insulation, clips, bump stops, and washer fittings are included. If the listing excludes them, confirm that your existing pieces transfer cleanly and are not bent or damaged.
Look for stretched bolt holes, cracked brackets, missing fasteners, and signs that the panel was forced open after an impact. These details can explain why a seemingly straight bonnet might not sit correctly on the vehicle.
Review paint quality and signs of color mismatch
Painted used panels rarely match perfectly without blending, even when the color code is identical. Sun exposure, age, polish, and previous repairs change how the finish appears. Examine the panel beside your vehicle if possible, or plan for professional color matching from the start.
A dull surface may respond to cleaning and polishing, but peeling clear coat or widespread fading usually calls for refinishing. Treat paint condition as a cost consideration rather than a reason to reject every imperfect-looking panel.
A sound panel with honest imperfections is usually easier to budget for than a supposedly perfect panel with undisclosed repairs.
That principle is useful when comparing listings. A clear description of flaws gives you a more realistic repair estimate and reduces the chance of a dispute after delivery.
Buy from reliable used-parts sellers
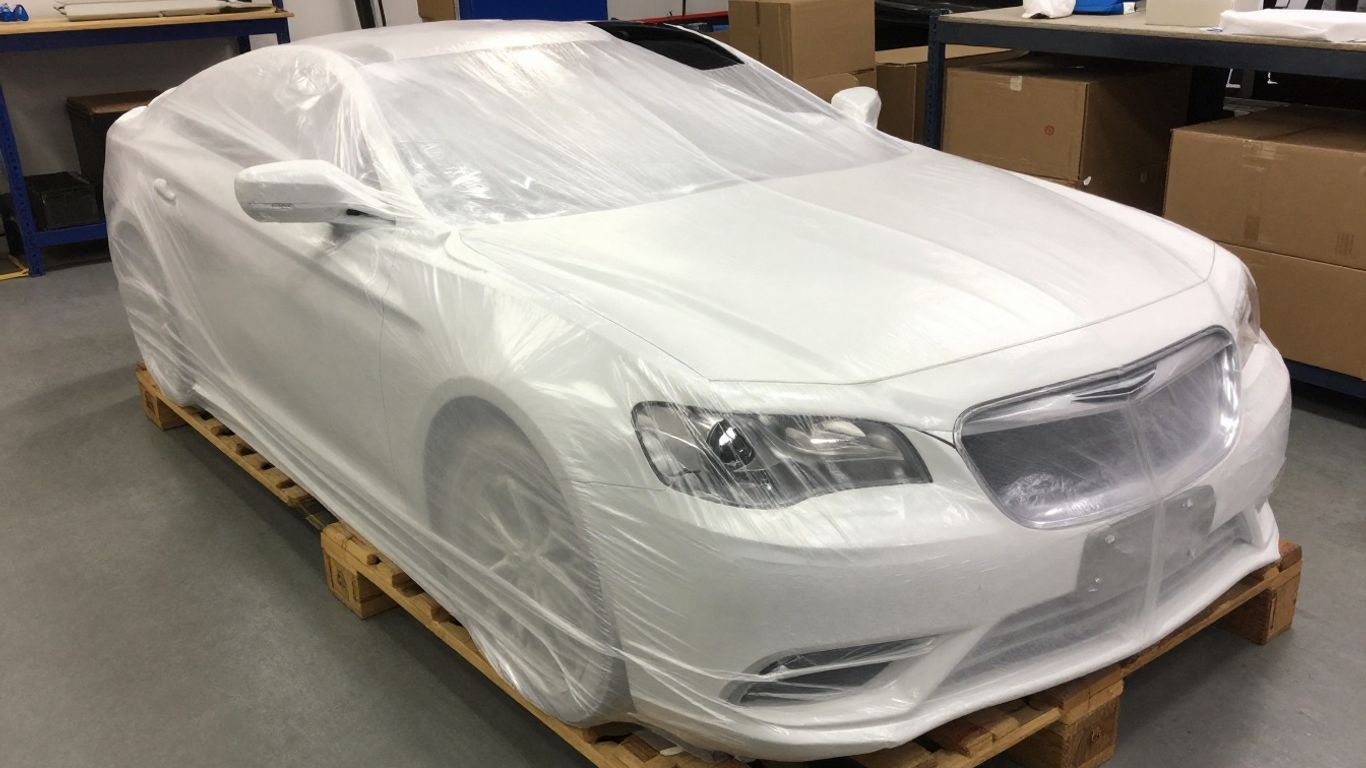
The seller matters almost as much as the panel. A reliable used-parts supplier should be willing to identify the donor vehicle, describe known damage, provide current photographs, and explain how the bonnet will be packed. Clear communication is especially valuable because oversized body panels are costly and awkward to return.
The best car parts network connects customers with quality used, genuine, and aftermarket parts through a broad network, helping buyers search across Melbourne, Sydney, Brisbane, and nationwide. Whether you buy through a specialist supplier, salvage yard, or marketplace, keep the same standards for evidence and fitment.
Compare specialist breakers, salvage yards, and marketplaces
Specialist breakers and salvage yards may have better vehicle knowledge and more detailed donor information. Marketplaces can offer a wider selection, but listing quality varies and stock may move quickly. Compare the actual panel, seller history, communication, and policies rather than assuming one sales channel is always superior.
A nearby seller may save on freight and make inspection possible. A distant supplier may have the correct generation in better condition. The sensible choice is the one that gives you enough information to judge both fit and total cost.
Check seller photos, descriptions, and part numbers
Look for photographs of the outer skin, underside, corners, hinge points, latch area, and any visible damage. Stock images are less useful than photographs of the exact bonnet you will receive. Match the part number, donor details, and description against your VIN information before paying.
If the listing is vague, ask direct questions in writing. Keep the replies and photographs with your order records so the agreed condition is clear if the panel arrives differently.
Ask about returns, warranties, and damage disclosures
Confirm the return period, exclusions, warranty coverage, and who pays return freight before purchase. Body panels can be damaged in transit even when they leave the seller in good condition, so ask how delivery damage should be documented and reported.
A warranty may cover fitment or undisclosed damage, but it may not cover paintwork, installation labor, or a buyer’s incorrect model selection. Read the terms carefully and make sure the seller knows the precise vehicle details.
Calculate delivery costs for oversized body panels
Freight can change the value of a bargain. Ask whether the price includes protective packaging, residential delivery, tail-lift service, or regional surcharges. Check the estimated delivery time as well, especially if the vehicle is already off the road.
When the panel arrives, inspect the packaging before signing where possible. Photograph crushed corners, punctures, or exposed metal immediately. Early records make a transport claim much easier to support.
Prepare a used bonnet for installation
Preparation starts before the bonnet reaches the workshop. Clear a clean storage area, arrange safe lifting help, and decide whether the panel will be painted before or after trial fitting. Installing a bonnet temporarily can reveal fitment issues that are difficult to solve once the final finish is complete.
Do not discard packaging until the panel has been inspected and test-fitted. It may be needed for a return or transport claim, and a replacement bonnet is vulnerable when stored against a wall or on a hard floor.
Confirm the panel arrives safely and undamaged
Open the package carefully and compare the bonnet with the seller’s photographs. Check the leading edge, corners, underside, hinge mounts, and latch area for fresh bends or scratches. Measure any obvious distortion before moving the panel into the workshop.
If damage is present, photograph it from several angles and contact the seller or carrier promptly. Avoid sanding, drilling, or fitting a disputed panel until the next step has been agreed.
Gather compatible hinges, latches, and bonnet struts
Make a complete hardware plan before removing the old bonnet. Existing hinges and latches may transfer, but impact damage or corrosion can make replacement parts necessary. Check strut lengths and mounting ends carefully, since a mismatch can prevent the bonnet from opening safely.
Set aside new bolts, washers, clips, and bump stops where appropriate. Reusing damaged fasteners can complicate alignment and make later adjustment less predictable.
Plan for sanding, priming, and repainting
A used bonnet may require only minor correction, or it may need full preparation. Discuss the finish with the paint shop before final fitting so they can assess corrosion, filler, old clear coat, and the condition of the underside. A color code is useful, but matching an aged vehicle may still require blending.
Keep the panel supported evenly during preparation. Resting it on its corners can introduce damage before the paint has even been applied.
Check panel gaps before final tightening
Install the bonnet loosely enough to allow movement, then compare the gaps at the fenders, grille, headlamps, and rear edge. Check the height relative to adjacent panels and make sure the corners do not sit proud. Adjust one area at a time rather than tightening everything immediately.
Once the gaps are even, mark or photograph the successful position before removing the panel for paint. That reference can save time during final assembly.
Fit and maintain a replacement Chrysler bonnet
Bonnet fitting is a two-person task in most workshops because the panel is large, flexible, and easy to scratch. Protect the fenders with clean covers and keep tools away from painted edges. Work slowly during the first closing cycle; forcing the bonnet can bend the latch or turn a small alignment problem into a larger one.
The best car parts network focuses on making quality used, genuine, and aftermarket parts easier to find fast and affordably. Once the replacement is selected, correct fitting and regular care remain essential to the vehicle’s safety and appearance.
Align the bonnet with the fenders and grille
Begin with the hinge bolts just loose enough for controlled adjustment. Center the bonnet from side to side, then set the front-to-rear position and compare the gaps along both fenders. The grille and headlamp edges provide useful visual references, but use consistent measurements where possible.
Protect the paint while shifting the panel. When the alignment looks even, tighten the hardware gradually and recheck the gaps rather than assuming they stayed in place.
Adjust the latch for secure closing
The latch should engage cleanly without slamming. With the bonnet lowered gently, check whether the striker meets the latch at the center and whether the panel sits level after closing. If it lands too high, too low, or to one side, adjust the latch or bump stops in small steps.
Never drive with a bonnet that requires force to close or does not release reliably. A workshop should correct the latch position and verify the secondary catch before the vehicle returns to the road.
Test bonnet struts, safety catches, and release cables
Operate the interior release several times and confirm that the bonnet pops up enough for the secondary catch to be reached. Test the safety catch directly, then check that the struts support the bonnet without sudden drops or excessive force. Inspect the cable routing for kinks and confirm the handle returns normally.
If any part feels stiff, loose, or inconsistent, stop and investigate. A bonnet that appears aligned but cannot be opened and secured reliably is not ready for use.
Protect the finish from corrosion and weather damage
Wash away road salt and grit, especially around the leading edge, seams, latch opening, and underside. Touch up stone chips before corrosion develops, and keep drain paths clear so water does not sit inside folded edges. Avoid abrasive products on fresh paint until the refinisher’s recommended curing period has passed.
A quick inspection during routine servicing can catch lifting paint, loose insulation, or a weakening strut early. Small maintenance tasks are much cheaper than correcting rust or a bonnet that has shifted out of alignment.
Conclusion
Finding second hand Chrysler bonnets is easier when fitment, condition, seller reliability, freight, and installation are considered together. Use the VIN to narrow the search, inspect the panel honestly, and allow for preparation and paintwork where needed. A careful purchase followed by measured fitting can restore the vehicle’s appearance without turning a replacement bonnet into an avoidable repair bill.