Comprehensive Chrysler Electrical System Repair Guide: Troubleshooting & Wiring Explained
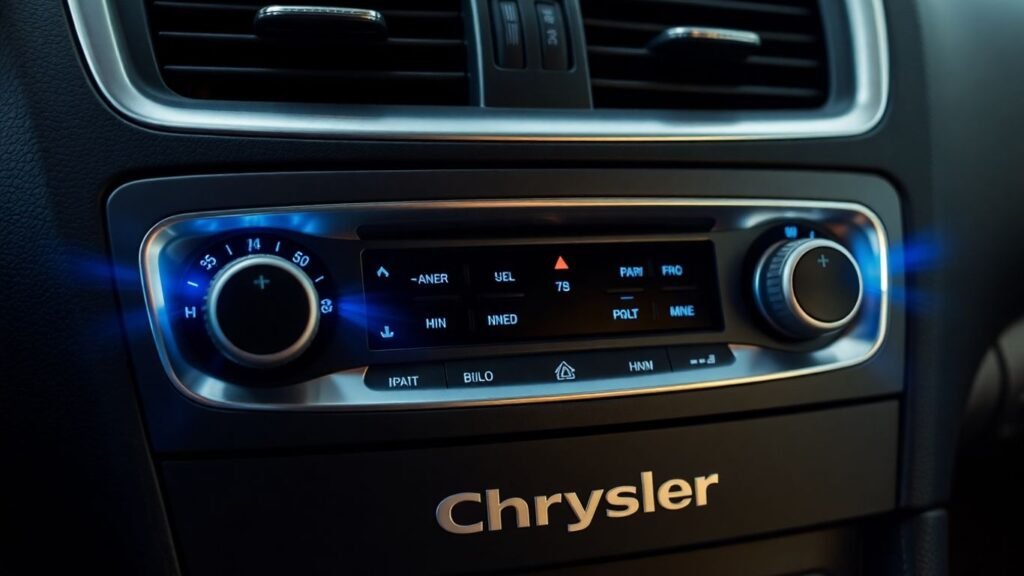
Dealing with electrical problems in your Chrysler can feel like a puzzle sometimes. Lights flicker, things don’t start, or maybe a window just won’t roll down. It’s easy to get frustrated, but often, the issues are fixable with a bit of know-how. This guide is here to help you sort out those electrical gremlins in your Chrysler. We’ll go over the basics, how to read those tricky wiring diagrams, and what tools you might need to get the job done. Key Takeaways Understanding the basic parts of your Chrysler’s electrical setup is step one for any repair. Learning to read Chrysler wiring diagrams makes it easier to find where problems are happening. Knowing common electrical issues and how to test for them saves time and guesswork. Having the right tools, like a multimeter, makes electrical work much simpler. Regular checks of your wiring and battery can stop problems before they start. Understanding Your Chrysler Electrical System Core Electrical System Components Your Chrysler’s electrical system is like its nervous system, sending signals and power all over the place. At its heart, you’ve got the battery, which is basically a big storage tank for electrical energy. When the engine’s off, it powers things like your lights and radio. Then there’s the alternator, which is like a mini power generator. It kicks in when the engine’s running to recharge the battery and keep everything else powered up. The starter motor is another key player; it’s a powerful electric motor that gets the engine turning over when you twist the key or push the start button. All these parts are connected by wires, fuses, and relays, which act like traffic cops, directing electricity where it needs to go and protecting circuits from overload. Basic Principles of Automotive Electricity Think of electricity like water flowing through pipes. Voltage is the pressure pushing the water, measured in volts (V). Current is the amount of water flowing, measured in amperes or amps (A). Resistance is what slows down the flow, like a narrow pipe, measured in ohms (Ω). In a car, the battery provides the voltage, the wires carry the current, and components like light bulbs or motors offer resistance. Ohm’s Law (V = I x R) is the golden rule here, showing how these three are related. Understanding this helps figure out why a circuit might not be working – maybe there’s not enough voltage, too much resistance, or a break in the circuit. Importance of a Well-Maintained System Keeping your electrical system in good shape is pretty important, honestly. A healthy system means your car starts reliably, your lights work when you need them, and all those power windows and gadgets function as they should. Neglecting it can lead to all sorts of headaches, from a dead battery on a cold morning to more complex issues that can be a real pain to track down. Plus, a well-functioning electrical system is safer. Faulty wiring can sometimes be a fire hazard, and you definitely don’t want your headlights flickering out on a dark road. A little bit of regular checking goes a long way. It’s not about being a master mechanic, just about noticing things like frayed wires or corroded battery terminals before they become big problems. It saves you time, money, and a lot of frustration down the road. Component Function Battery Stores and supplies electrical energy Alternator Recharges battery and powers system when running Starter Motor Cranks the engine to start it Fuses Protects circuits from overcurrent Relays Act as electrically operated switches Navigating Chrysler Wiring Diagrams Alright, so you’ve got a Chrysler that’s acting up electrically, and you’re staring at a wiring diagram. Don’t let those lines and colors make your head spin. Think of these diagrams as the electrical roadmap for your car. They show you exactly how the power flows from the battery, through all the switches and components, and back to ground. Understanding these diagrams is your first big step to fixing electrical problems. Decoding Diagram Symbols and Layouts These diagrams use a bunch of symbols to represent different parts. You’ll see squares for switches, circles for connectors, and various shapes for components like relays or motors. Most Chrysler diagrams lay things out pretty logically. Usually, the power side of a circuit is shown at the top, and the ground side is at the bottom. Components are often shown in their ‘rest’ position, meaning when they’re not activated. Solid lines typically mean a complete wire or connection, while dashed lines might indicate a splice or a different type of connection. It takes a little practice, but once you get the hang of the symbols, you can start to see how everything is connected. Wire Color Codes and Circuit Identification Chrysler uses a system for wire colors and circuit identification that’s pretty helpful once you know what to look for. Each wire usually has a color code, and sometimes a number or letter designation printed on it, which tells you what circuit it belongs to. This is super important for tracing a wire from one point to another. For example, a "PK" might mean pink, and a "GY" might mean gray. You’ll often find a chart in the service manual that breaks down these color codes and what each circuit does. It’s like a secret code, but once you crack it, you can follow a specific circuit all over the vehicle. Here’s a quick look at some common wire color codes you might see: Color Abbreviation Color Name BK Black BR Brown DG Dark Green GY Gray LB Light Blue OR Orange PK Pink TN Tan VT Violet Tracing Power and Ground Paths When you’re troubleshooting, you’re often trying to figure out where the power is going, or why it’s not getting there. You need to follow the path of electricity. Start at the power source (usually the battery) and trace the wire using the diagram. See where it goes through fuses, relays, switches, and finally to the component that’s