Key Takeaways
A careful match and a close inspection make buying PT Cruiser tail lights used far less risky. Verify the application, assess the housing, and test every function after installation.
- Match the model year, body style, side, and lamp configuration before ordering.
- Inspect lenses, mounting points, sockets, wiring, and signs of water intrusion.
- Ask sellers for clear photos, part numbers, condition details, and return terms.
- Compare the complete cost of used, aftermarket, and remanufactured replacements.
- Test parking, brake, reverse, turn-signal, and high-mount brake lights after fitting.
Understand PT Cruiser tail light options
A PT Cruiser tail light assembly can look simple, but several details determine whether a replacement will fit and function correctly. Model year, trim, body style, side of the vehicle, and lamp position all matter. Before searching, identify exactly which light is damaged and whether the problem is the bulb, socket, lens, or complete housing.
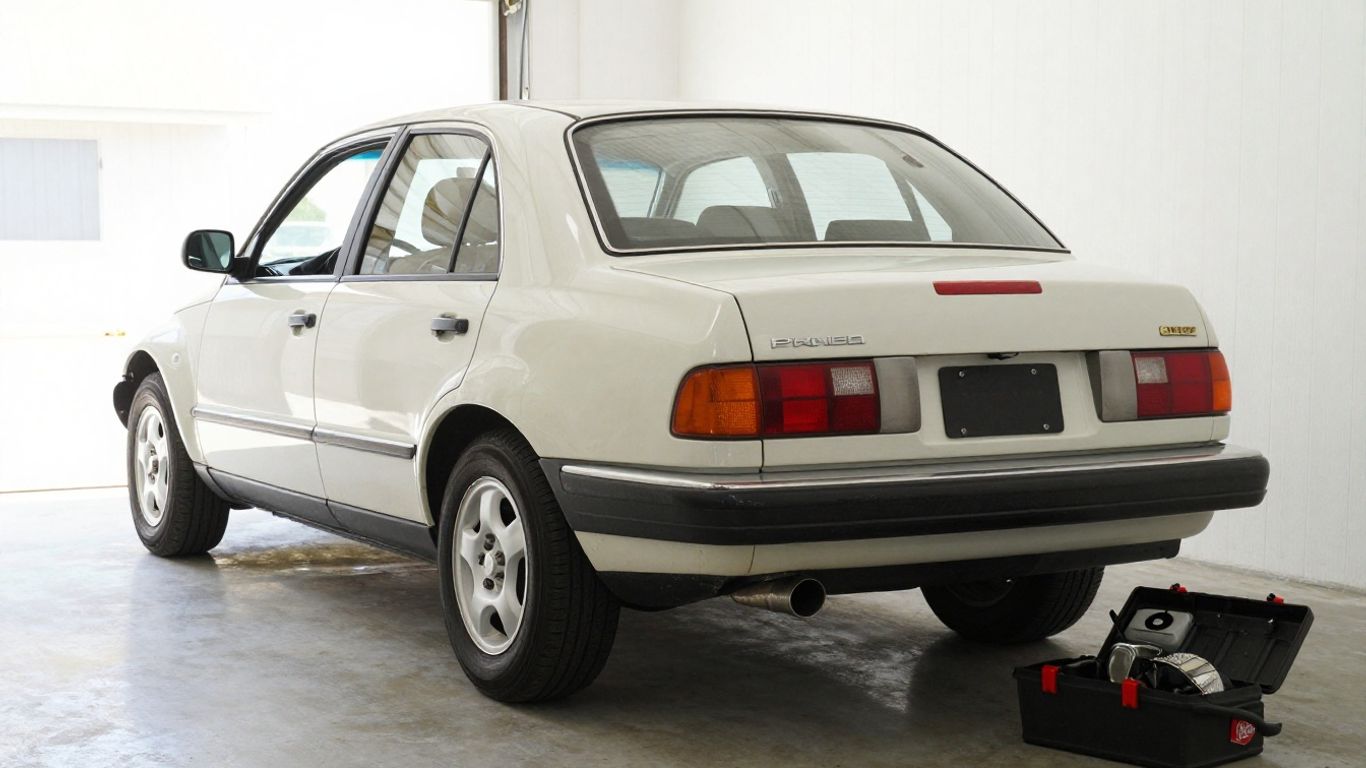
Differences between model years and trims
PT Cruiser parts listings may be organized by year, trim, or body configuration, and similar-looking lamps are not automatically interchangeable. Compare the shape of the lens, mounting locations, connector arrangement, and surrounding bodywork with the part on your vehicle. A listing that says only “PT Cruiser tail light” leaves too much room for an expensive mismatch.
Tail lamps versus brake, reverse, and turn-signal lights
“Tail light” can refer to the complete rear lamp assembly, but sellers may also use the term for one lighting function or a bulb. The parking light, brake light, reverse light, and turn signal may share a housing while using separate bulb positions or circuits. Confirm whether you need a lens and housing, a bulb carrier, a socket, or just a replacement bulb.
Driver-side and passenger-side fitment
Left and right rear lamps are shaped for their respective sides of the vehicle. Their mounting tabs and wiring orientation may differ even when the lenses appear nearly symmetrical. Read the seller’s side designation carefully, and compare it with the driver-side or passenger-side assembly already installed on your PT Cruiser.
Standard and high-mount third brake lights
The high-mount third brake light is separate from the main tail lamps and is usually positioned higher on the vehicle. If it is cracked, cloudy, or not illuminating, search for that component specifically rather than ordering a standard side lamp. Check whether the listing includes the complete high-mount unit or only its lens, bulb, or housing.
Confirm compatibility before buying
Compatibility checks are worth doing before you compare prices. Have the vehicle identification number, model year, body style, and the old lamp’s markings nearby while shopping. A part number is stronger evidence than a photo that merely looks similar, especially when several applications share the same general design.
Matching the model year and body style
Start with the year and body style shown in the vehicle documents, then compare those details with the listing. Sedan and convertible applications can differ in their rear bodywork and lamp mounting, so do not assume that a lamp from one will fit the other. If the seller lists a range of years, ask whether the part was physically checked against your specific application.
Checking OEM and aftermarket part numbers
Record every number molded into or printed on the original housing, including an OEM number and any supplier marking. Search those numbers exactly, then compare the result with the seller’s compatibility notes. If a listing provides an aftermarket replacement number, confirm that it is intended to replace the number on your original assembly rather than relying on a broad vehicle description.
Comparing sedan and convertible applications
Body style should be treated as a separate fitment check, not a minor trim detail. Look for differences in the rear quarter panel, deck area, fastener locations, and connector routing. When the application is unclear, send the seller a photo of your existing lamp and ask for a direct confirmation before paying.
Verifying lens, housing, and socket configurations
Decide whether the listing includes the outer lens, the rear housing, sockets, bulbs, wiring, or the entire assembly. A bare housing may be useful if your existing sockets and bulbs are good, while a complete assembly can save time when several components are damaged. Compare the number and position of bulb openings, connector pins, and mounting studs before ordering.
Evaluate the condition of used tail lights
Used lighting parts vary widely in condition, even when they come from the same model. A clean photograph can hide broken tabs, moisture inside the lens, or missing sockets. Inspect the part as a functional assembly, not just as a cosmetic panel.
Inspecting the lens for cracks and moisture
Look closely at the lens edges, corners, and seams for cracks or deep scratches. Fine damage around a mounting point can spread when the fastener is tightened. Also check for fogging, standing water, mineral marks, or dark staining inside the lens, since moisture can point to a failed seal or a housing that has already been compromised.
Checking mounting tabs and screw points
Mounting tabs carry the load that holds the lamp against the body, so a broken tab can make an otherwise attractive part unusable. Ask for close photos of every tab, stud, screw point, and rear edge. Repaired plastic may work, but the repair should be disclosed and should not leave the assembly twisted or unable to sit flush.
Examining wiring, bulbs, and connectors
Inspect the bulb sockets for corrosion, melted plastic, loose contacts, or missing retainers. Connector pins should be straight and clean, and the wiring should not show cuts or crushed insulation. Bulbs are inexpensive and may not be worth treating as part of the purchase unless the seller specifically confirms their condition.
Identifying faded, cloudy, or repaired components
Sun exposure can fade red plastic and make the lens look hazy, while polishing may improve appearance without restoring damaged material. Compare the color and clarity with the lamp remaining on your vehicle. A small cosmetic mark may be acceptable, but heavy fading or an obvious repair can make the rear of the car look mismatched and may affect resale appeal.
Choose a reliable source for used parts
The source affects how much information you receive, how the part is packed, and what happens if it does not fit. Salvage operations may have vehicle history and inventory photos, while online sellers may offer a broader selection but less hands-on inspection. In either case, a clear written description is more useful than a vague promise that the part “should work.”
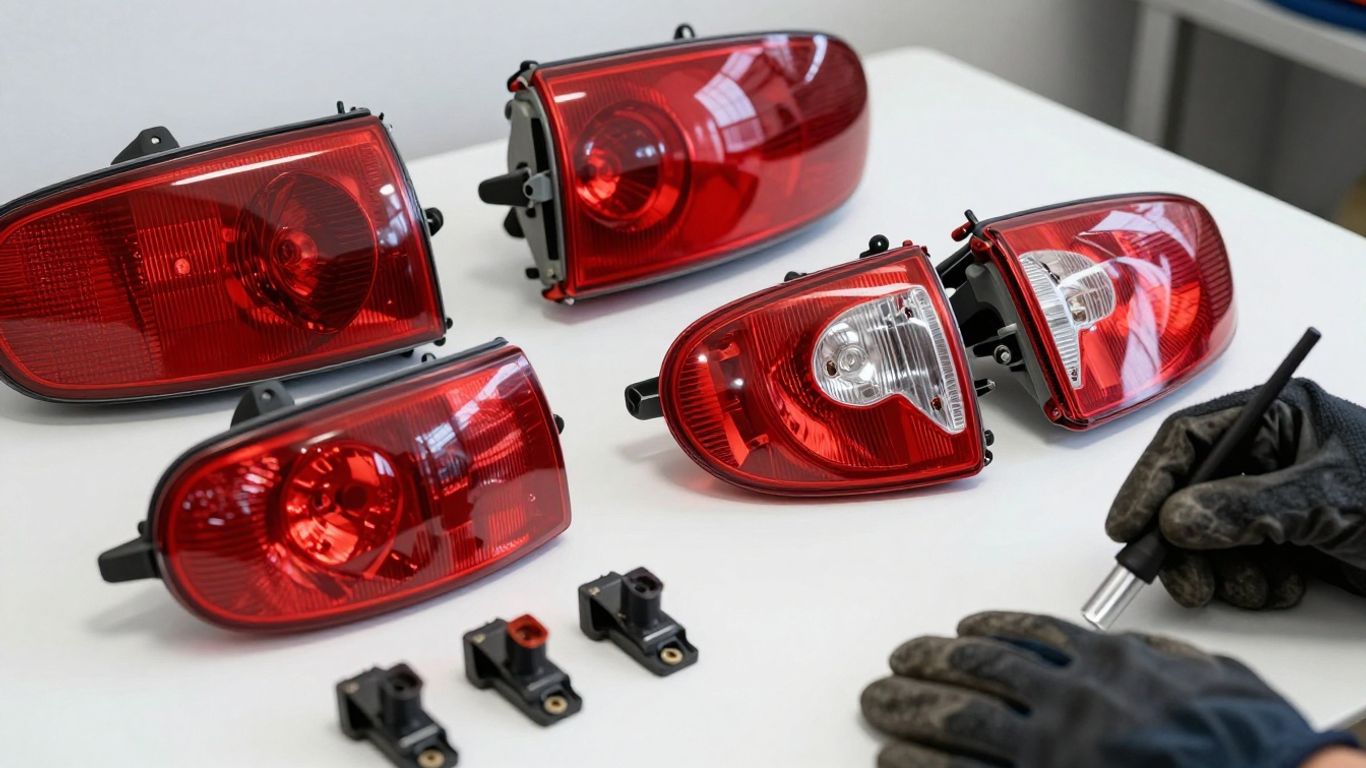
Salvage yards and auto recyclers
A salvage yard or auto recycler may be able to verify the donor vehicle, inspect the lamp before removal, and provide photos of the rear housing. Ask whether the part was removed from a vehicle with functioning lights and whether the yard records the mileage or damage location. Local pickup can also let you examine the tabs and lens before committing.
Online marketplaces and specialist sellers
Online listings are convenient, but read the entire description instead of relying on the title. Check whether the photograph shows the actual part, whether the side is identified, and whether included accessories are visible. Specialist sellers may organize inventory by exact application, but you still need to confirm the details against your vehicle.
Questions to ask before placing an order
A short message can resolve most uncertainties before the transaction. Ask for the donor year and body style, the side of the vehicle, the part number, the condition of tabs and lens, and confirmation that the sockets and connectors are included. Also ask how the lamp will be protected during shipping, since brittle plastic can be damaged by loose packaging.
Reviewing photos, ratings, warranties, and return policies
Photos should show the front, rear, sides, mounting points, and connector area rather than only the cleanest angle. Ratings can reveal patterns such as inaccurate descriptions or weak packaging, while a warranty may define coverage for fitment or function. Read the return policy for deadlines, restocking fees, shipping responsibility, and requirements about keeping the original packaging.
Compare used tail lights with other replacement options
A used original-equipment lamp is not automatically the cheapest choice. Its price may look attractive until shipping, missing sockets, polishing, or replacement bulbs are added. Compare each option by fit, condition, completeness, appearance, and total cost rather than by listing price alone.
When a used OEM lamp is the best choice
A used OEM lamp can make sense when the original design fits well, the replacement is complete, and the lens color closely matches the other side. It may also be practical when a new part is difficult to source or when preserving the vehicle’s existing appearance matters. The best candidate is a sound assembly with intact mounting points and no evidence of internal moisture.
Comparing used, new aftermarket, and remanufactured parts
Used parts usually offer the advantage of an original housing at a potentially lower price, but condition is variable. New aftermarket parts may provide fresh lenses and seals, though fit and finish should be confirmed. Remanufactured parts can differ in what has been repaired or replaced, so ask for the specific work performed and what components are included.
Calculating shipping and total replacement costs
Write down the purchase price, shipping, sales tax, bulbs, sockets, sealant if needed, and any return cost. This simple comparison prevents a low-priced listing from appearing better than a more complete local option. Fragile lamp assemblies also deserve careful attention to packaging charges and the possibility of damage in transit.
| Cost item | Used assembly | New replacement | Possible extra |
|---|---|---|---|
| Part price | Listing price | Listing price | Condition or brand variation |
| Shipping | Often variable | Often variable | Protective packaging |
| Installation parts | May need bulbs or sockets | Usually depends on package | Bulbs, clips, seals |
| Return exposure | Check seller terms | Check retailer terms | Return shipping or restocking |
The comparison is most useful when every column includes the same scope of parts. A used housing without sockets should not be compared with a complete new assembly until the missing pieces and labor have been priced in.
Deciding whether cosmetic imperfections matter
Cosmetic standards depend on where the damage is and how visible it will be. A light haze on an older daily driver may be tolerable if the lens remains sealed and the signals are clear, while a mismatched color or prominent crack may bother you every time you see the rear of the car. Safety, sealing, and secure fit should come before minor surface marks.
Replace and test PT Cruiser tail lights
Replacing a rear lamp is manageable for many owners, but rushing the job can damage trim or leave a leak behind. Work on a cool vehicle in a well-lit area and keep the original assembly until the replacement has passed inspection. The exact fastener arrangement can vary, so use the vehicle’s service information when resistance or access is unusual.
Preparing the vehicle and required tools
Park on level ground, switch off the ignition, and remove the key before beginning. Gather a small socket set or screwdriver that matches the fasteners, a trim tool, clean gloves, and a cloth for protecting the paint. Have the replacement, its bulbs or sockets, and any sealing material within reach so the open lamp area is exposed for as little time as possible.
Removing the original tail light assembly
Open the rear access area and locate the fasteners holding the lamp to the body. Remove them carefully, then pull the assembly straight enough to release its locating pins without levering against the painted panel. Disconnect the wiring or twist out the bulb carrier only after the housing is supported, and save the fasteners in a small container.
Installing the replacement housing and bulbs
Compare the old and replacement assemblies on a bench before installation. Transfer compatible bulbs, sockets, seals, or retainers only when they are in good condition, then connect the wiring and guide the housing into its locating points. Tighten fasteners evenly until the lamp sits flush; excessive force can distort plastic or break a mounting tab.
Testing brake, parking, reverse, and turn signals
Test each function before reinstalling access covers or finishing the job. Have another person operate the controls, or use a safe reflective surface to view the lamps from the driver’s seat. Check the parking light, brake light, reverse light, turn signal, and high-mount brake light separately so a shared ground or connector problem is not overlooked.
A replacement is not finished until the lamp is secure, dry inside, and working in every required mode.
After the initial test, switch the lights off and inspect the connector and fasteners once more. If one function fails, check the bulb orientation, socket contacts, fuse, ground, and connector seating before assuming the replacement housing is defective.
Preventing water leaks after installation
Make sure the gasket or sealing surface is clean, flat, and correctly positioned before tightening the lamp. Do not trap wiring between the housing and the body, and avoid using excess sealant that could prevent a flush fit or complicate future removal. After installation, inspect the lamp after rain or a careful low-pressure water test for condensation or droplets.
Conclusion
Finding PT Cruiser tail lights used is mainly a matter of disciplined matching and patient inspection. Confirm the application and part number, judge the lens and mounting hardware honestly, compare the complete cost, and test every lighting function after installation so the replacement is both secure and dependable.