Key Takeaways
Choosing PT Cruiser spare parts is easier when you confirm the vehicle’s year, trim, engine, transmission, and VIN before ordering. A careful inspection, sensible parts comparison, and regular maintenance can prevent many avoidable repairs.
- Confirm fitment with the VIN, part number, and vehicle specifications.
- Compare OEM, aftermarket, used, and refurbished options carefully.
- Give extra attention to timing, braking, suspension, and cooling components.
- Check seals, connectors, fasteners, and safety-critical parts before installation.
- Keep maintenance records so future parts decisions are easier.
Understanding PT Cruiser spare parts categories
The right replacement component depends on which system it serves and how closely it must match the original. Engine parts, braking hardware, electrical components, and body accessories all have different fitment concerns. Organizing the search by system helps avoid buying a part that looks correct but belongs to another configuration. The Chrysler PT Cruiser also appeared in several combinations of engines, trims, and model years, so a general description is rarely enough.
Engine and drivetrain components
Engine and drivetrain parts include items such as belts, pulleys, tensioners, spark plugs, filters, sensors, mounts, axles, and transmission-related hardware. Some are routine service items, while others are replaced only after a symptom or inspection. Before buying, compare the engine size, aspiration, transmission type, and the position of the component on the vehicle. A small specification difference can affect both fit and operation.
For rotating or belt-driven parts, inspect nearby components at the same time. Replacing one worn pulley while leaving a damaged tensioner in place may shorten the life of the new part. Matching the complete service job is often more economical than repeating labor later.
Braking and suspension parts
Braking and suspension components directly affect control, stopping distance, and ride quality. Common examples include brake pads, rotors, calipers, wheel bearings, struts, shocks, control arms, bushings, sway-bar links, and tie-rod ends. Wear may appear as vibration, uneven tire wear, noise, pulling, or a change in steering feel.
Brake and suspension parts should be compared by axle position and vehicle configuration, not just by a broad model name. When replacing parts on one side, inspect the opposite side as well. Similar wear on both sides may make a paired replacement the more sensible repair.
Electrical and cooling system parts
Electrical and cooling systems often produce symptoms that overlap, which makes diagnosis valuable before ordering. A weak battery, failing alternator, corroded connection, faulty sensor, thermostat problem, radiator leak, or damaged hose can all lead to starting trouble or warning lights. Test the underlying system rather than replacing the first component that appears suspicious.
Cooling parts deserve prompt attention because overheating can cause damage beyond the original failure. Check the radiator, thermostat, hoses, clamps, fan operation, and coolant condition as a group. For electrical parts, compare connector shape, terminal arrangement, voltage requirements, and mounting points.
Body, trim, and interior accessories
Body and interior parts are usually less mechanically complex, but they can still vary by year and trim. Door handles, mirrors, window regulators, lamps, grilles, trim panels, switches, seats, and interior fittings may use different mounting points or connector designs. Color and finish are additional concerns when appearance matters.
Photographs are useful for these parts, especially when buying used components. Look closely at tabs, clips, mounting holes, wiring pigtails, and surface damage. A part that is mechanically usable may still require refinishing or extra hardware before it looks right.
How to identify the right PT Cruiser parts
Correct identification is the most effective way to reduce returns and installation delays. Start with the vehicle’s paperwork, then verify the physical part and its markings. The Chrysler PT Cruiser name alone does not identify every possible configuration. Year, trim, engine, transmission, production date, and optional equipment can all change the correct replacement.

Checking the model year and trim
Record the model year and trim before searching a catalog. Trim names can indicate differences in equipment, braking hardware, interior fittings, lighting, or body details. Also note whether the vehicle is naturally aspirated or turbocharged, and whether it has automatic or manual transmission.
Use the old part as a visual reference, but do not rely on appearance alone. Two parts can share a shape while using different connectors, dimensions, or mounting arrangements. The best match combines the catalog description with the vehicle’s actual specification.
Using the VIN and part number
The VIN is often the strongest starting point for confirming a vehicle application. Enter it exactly as recorded and compare the resulting fitment information with the seller’s listing. If the original component has a stamped, molded, or printed number, record that number before removing it.
Part numbers can change through revisions, supersessions, or manufacturer updates. A replacement may carry a different current number while still being an approved match. Ask the seller to confirm the relationship rather than assuming that similar-looking numbers are interchangeable.
Comparing engine and transmission specifications
Engine and transmission details matter for parts that connect to sensors, mounts, cooling passages, exhaust sections, or driveline components. Confirm displacement, fuel system, aspiration, transmission type, and any relevant production break. This is especially useful when listings group several versions under one broad model heading.
When two listings appear close, compare dimensions and connection points. Fitment evidence matters most when the price difference between options is small. A cheaper part that requires adapters, extra hardware, or a second order may not be the economical choice.
Recognizing facelift and generation differences
Changes to exterior styling, lighting, interior trim, or equipment can create fitment differences between earlier and later vehicles. Compare headlamp and tail-lamp shapes, bumper details, grille mounting, dashboard components, and door hardware when ordering body or interior parts.
Production dates can matter even within the same model year. If a listing mentions an early or late production range, treat that information as a required check rather than a minor detail. When uncertain, send the seller clear photographs and the VIN before purchasing.
Choosing between OEM, aftermarket, and used parts
There is no single best source for every repair. The sensible choice depends on the component’s safety role, expected service life, availability, warranty, and installation cost. A new original-equipment part may suit a precise fitment need, while a reputable aftermarket alternative can work well for a common service item. Used parts can also be practical when new trim or body pieces are difficult to find.
Benefits of OEM replacement parts
OEM replacement parts are designed for the vehicle’s original application and may provide a straightforward match for connectors, mounting points, and dimensions. They are particularly appealing when a component has unusual specifications or when installation time matters. Documentation and catalog support may also be easier to verify.
That does not mean every OEM part is automatically the best value. Compare warranty terms, availability, age, and the labor involved. For older vehicles, an original part that has sat in storage for years may deserve the same careful inspection as any other component.
When aftermarket components make sense
Aftermarket parts can make sense for widely available maintenance items and components with clear, well-documented specifications. Filters, belts, brake hardware, hoses, and some electrical components may be offered by several manufacturers. The key is to compare materials, dimensions, testing information, and warranty coverage rather than choosing by price alone.
Read the application notes carefully. A reputable listing should identify the applicable year range, engine or transmission details, and any included hardware. If those details are missing, the lower price may reflect uncertainty rather than savings.
Evaluating used and refurbished parts
Used parts are most attractive when the original design is no longer widely available or when a cosmetic match is important. Inspect them for cracks, corrosion, bent brackets, damaged threads, missing clips, and signs of water intrusion. Electrical and safety-related used parts require especially careful judgment.
Refurbished components should come with a clear description of what was inspected or replaced. Ask whether seals, bearings, brushes, fasteners, or other wear items were renewed. A vague refurbishment label provides less useful information than a specific inspection record.
Balancing quality, warranty, and price
Price should be considered alongside the cost of shipping, installation, downtime, and a possible return. A part with a longer warranty may be worthwhile when failure would require substantial labor. Conversely, a simple, accessible component may not justify paying a large premium for a minor difference in coverage.
Use a simple comparison before ordering. The following questions keep the decision grounded in the actual repair:
Choose the part whose verified fit, condition, and support match the risk of the job.
After comparing those factors, select the option that offers the clearest balance rather than the lowest advertised price. Keep the listing and warranty details until the repair has been tested.
The most commonly replaced PT Cruiser spare parts
Older vehicles tend to need attention in several systems at once, but replacement frequency depends heavily on mileage, storage, climate, and maintenance history. Some parts wear gradually, while others fail because of age, heat, corrosion, or neglected service. The Chrysler PT Cruiser can remain useful for years when these common replacement areas are addressed before a small fault becomes a larger repair.
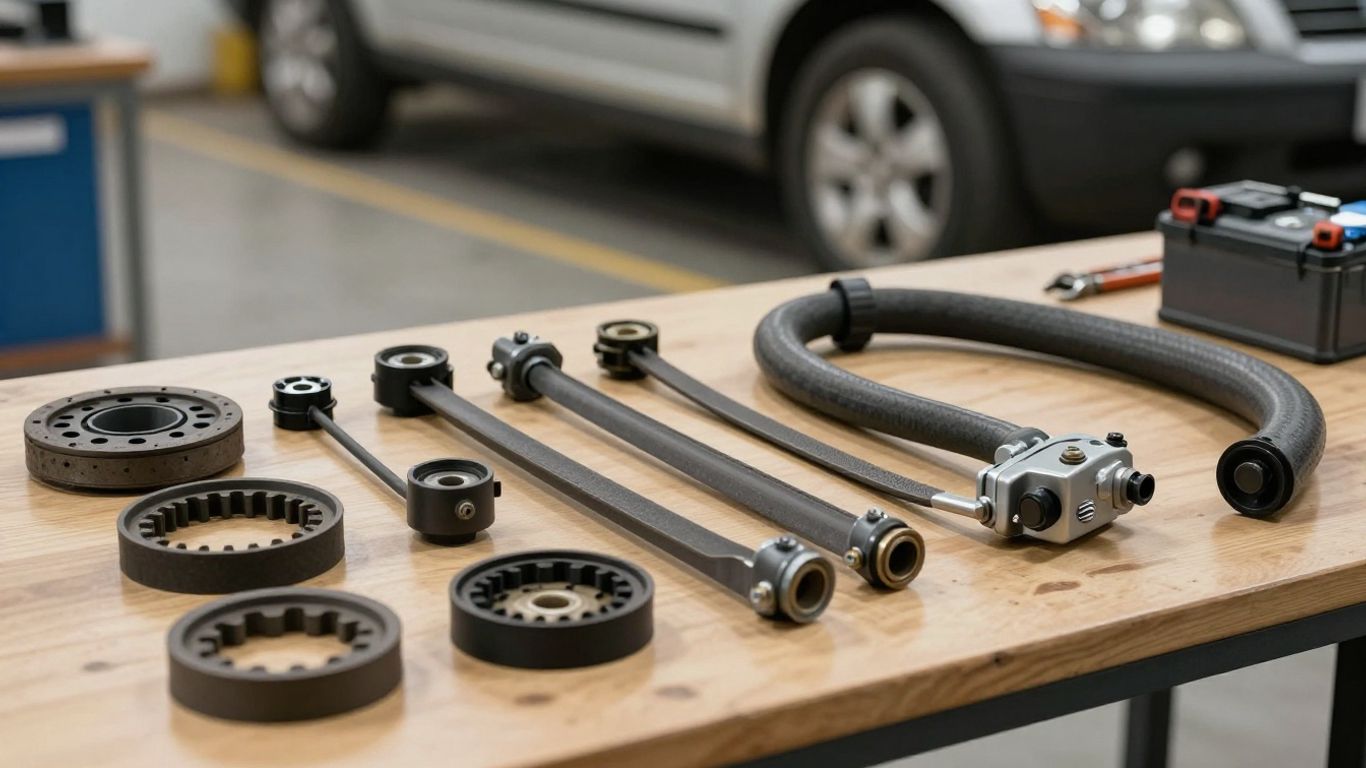
Timing belts, pulleys, and tensioners
Timing belts, pulleys, and tensioners deserve careful attention because they work together and may be difficult to access. A belt can look acceptable while a pulley bearing or tensioner is beginning to fail. Follow the applicable service interval and use the correct procedure for alignment and tension.
When one timing component is worn, inspect the related parts and consider the labor required to reach them. Reusing questionable hardware can undermine the benefit of a new belt. After installation, rotate the engine as specified by the service instructions and verify the timing marks before starting.
Brakes, wheel bearings, and suspension components
Brake pads and rotors are regular wear items, while wheel bearings and suspension components often reveal themselves through noise, looseness, vibration, or uneven tire wear. Check for play and inspect the surrounding hardware before ordering. A noise from one corner does not always identify the failed part by itself.
Replace damaged fasteners, clips, dust shields, or seals when required. After suspension work, inspect alignment and tire wear. Brake work should be followed by a careful pedal check and a controlled road test in a safe area.
Radiators, thermostats, and cooling hoses
Radiators, thermostats, and cooling hoses age through heat cycles and exposure to coolant. Swelling, soft spots, staining, cracking, or dried residue can point to a developing leak. A thermostat problem may also cause slow warm-up, overheating, or unstable temperature readings.
Before replacing a radiator, inspect the fan, cap, clamps, and nearby hoses. Flush or refill the system according to the correct procedure and use compatible coolant. Trapped air can create misleading symptoms after the repair, so monitor the level and temperature as the system settles.
Batteries, alternators, and sensors
A battery that repeatedly goes flat may not be the original problem. Test battery condition, charging voltage, cable connections, grounds, and parasitic draw before replacing the alternator. Corrosion at a terminal can create symptoms that resemble a failed component.
Sensors should be selected by exact application and connector design. Record diagnostic codes, but treat them as clues rather than automatic instructions to replace a sensor. Clear the underlying issue, then confirm that the warning does not return.
Window regulators, lights, and door hardware
Window regulators, lamps, switches, handles, locks, and hinges are common sources of age-related inconvenience. Slow glass movement may come from the regulator, motor, guides, wiring, or binding inside the door. A lamp problem may involve the bulb, socket, fuse, ground, or connector.
Remove interior panels carefully because clips and retainers can become brittle. Photograph the wiring and hardware before disassembly, and compare the replacement with the original before securing it. This small pause often prevents a second removal.
How to buy PT Cruiser spare parts online
Online catalogs offer broad access to parts, but they also compress complicated fitment information into short listings. Treat each listing as a starting point that needs verification. Clear photographs, complete specifications, responsive sellers, and sensible return terms are more useful than a polished title alone.
Comparing listings and seller reputations
Compare several listings for the same component and look for consistency in application details, included hardware, condition, and warranty. Seller feedback can reveal packaging quality, communication, and how returns are handled. Reviews are most useful when they describe the exact part and vehicle configuration.
Be cautious when a listing combines many years, engines, and trims without explaining the differences. A seller who answers fitment questions specifically is usually easier to work with than one who offers only a generic compatibility statement.
Verifying fitment before ordering
Before checkout, match the listing against the VIN, original part number, engine, transmission, side, axle, and production range. For body components, also verify color, finish, mounting points, and whether the part is left- or right-hand. Save a copy of the confirmed fitment information.
If the listing says “may fit,” ask for a direct confirmation. Include photographs of the old part and its connector or mounting area when contacting the seller. Written confirmation can make a return discussion much simpler if the part is later found to be incorrect.
Reviewing photos, specifications, and warranties
Photos should show the actual item when condition matters, especially for used or refurbished parts. Look for close views of connectors, threads, seals, brackets, clips, and damaged surfaces. Stock images can be useful for shape but may hide differences in the supplied component.
Read what the warranty covers, how long it lasts, and whether labor, return shipping, or core charges are excluded. Specifications should include dimensions or application details where those affect fit. If a critical detail is absent, request it before placing the order.
Calculating shipping, returns, and total cost
The displayed price is only one part of the purchase. Add shipping, taxes, core charges, required gaskets or hardware, and any return fees. Large body or cooling components can have shipping costs that change the apparent value of an otherwise inexpensive listing.
Estimate the cost of being wrong as well. A return may involve repacking, waiting for a replacement, and paying for another installation appointment. A slightly more expensive listing with verified fitment and a practical return policy can reduce that risk.
Inspecting and installing replacement parts
Safe installation begins before the vehicle is disassembled. Read the repair instructions, identify the required tools, and compare the new component with the old one. Do not force a part into place simply because its general shape looks correct. Stop and recheck fitment if a connector, hole, seal, or bracket does not align naturally.
Tools and preparation for a safe installation
Prepare a stable work area, suitable stands or supports, eye protection, gloves, lighting, and containers for removed hardware. Disconnect the battery when the procedure calls for it, and support the vehicle correctly before working underneath. Keep fasteners organized by location rather than placing everything in one container.
Clean the surrounding area before opening fluid systems or removing electrical connectors. A few minutes spent preventing dirt from entering an engine, brake, or cooling system can protect the new part. Photographing the original routing is also helpful for hoses, wiring, and brackets.
Parts that require professional fitting
Some repairs are poor candidates for guesswork. Timing work, major brake repairs, wheel-bearing replacement, alignment-related suspension work, air-conditioning service, and jobs involving difficult access may require specialized tools or experience. The risk is not limited to damaging the part; an error can affect vehicle control or engine operation.
A professional inspection can also be worthwhile when the symptom is unclear. Paying for diagnosis may cost less than replacing several unrelated parts. If you do use a repair shop, ask for the part number and warranty information for your records.
Checking seals, connectors, and fasteners
Inspect every seal, gasket, connector, clip, and fastener before final assembly. Compare old and new O-rings, check that electrical locks engage, and make sure retaining clips are fully seated. Replace stretched, damaged, or corroded hardware when the repair instructions require it.
Avoid overtightening plastic housings or small threaded fittings. Use the specified torque where available, especially for wheel, brake, suspension, and engine components. A carefully installed seal or connector is often what separates a lasting repair from a repeat leak or intermittent fault.
Testing the vehicle after installation
Test the repair in stages. Start with a visual inspection, then check fluid levels, warning lights, leaks, unusual noises, and connector security before moving the vehicle. For brakes, steering, suspension, or drivetrain work, begin with a slow test in a controlled area.
After the first drive, inspect the repaired area again. Recheck coolant level, fasteners, belt tracking, or electrical behavior as appropriate to the component. Keep the old part until the new one has passed its initial test and any return window is no longer needed.
How to maintain your PT Cruiser and extend part life
Maintenance is less about preventing every failure than about catching wear while the repair is still manageable. Use the owner’s manual and service information for interval guidance, then adapt inspections to mileage, climate, storage, and driving conditions. The Chrysler PT Cruiser benefits from consistent attention to fluids, belts, brakes, tires, cooling, and electrical connections.
Following preventive maintenance intervals
Track oil and filter changes, coolant service, brake inspections, belt-related work, tire rotation, and fluid checks. Intervals should be interpreted alongside time, not mileage alone, because rubber, seals, and fluids age while a vehicle is parked. If service history is unknown, establish a baseline inspection before assuming everything is current.
Do not postpone small maintenance tasks because the vehicle still drives normally. A worn hose, weak battery connection, or noisy pulley can become more expensive after a breakdown. Preventive work is most useful when it is scheduled before symptoms become urgent.
Watching for common warning signs
Pay attention to temperature changes, new vibrations, squeaks, grinding, steering drift, fluid spots, slow windows, dim lights, and repeated warning lamps. Note when the symptom occurs, whether the engine is hot or cold, and whether it changes with speed or braking. Those details make diagnosis more precise.
A warning sign does not always identify the failed component, so avoid ordering solely from a symptom. Inspect and test the related system first. This approach reduces unnecessary parts and helps reveal a root cause such as corrosion, poor grounds, or misalignment.
Protecting electrical and body components
Keep drains clear, repair water leaks, and protect connectors from moisture and road contamination. Clean battery terminals and grounds as needed, while avoiding excessive water around sensitive electrical areas. Wax or protect exposed body surfaces according to the finish, and address rust before it spreads around fasteners or seams.
Interior and door hardware also last longer when they are not forced. Lubricate appropriate hinges, latches, and guides with a compatible product, and investigate slow or stiff movement early. A small adjustment may prevent a broken handle or regulator.
Keeping records of replacements and repairs
Record the date, mileage, part number, supplier, warranty, and work performed for every repair. Include photographs of unusual fittings or routing when they may help later. These notes are valuable when diagnosing recurring symptoms or checking whether a component is still covered.
A complete history also improves future buying decisions. You can see which parts were replaced, which specifications were used, and whether a repair involved related hardware. That makes the next search for PT Cruiser spare parts faster and more confident.
Conclusion
The best PT Cruiser spare parts decisions come from careful identification, realistic comparison, and disciplined installation. Confirm the vehicle details before ordering, match the part to the risk of the repair, and maintain clear records afterward. That process saves time, limits avoidable returns, and helps an older vehicle remain dependable.