Key Takeaways
PT Cruiser dashboard parts vary by model year, trim, position, and condition, so careful identification prevents expensive mistakes.
- Confirm the model year, trim, drive configuration, and OEM number before ordering.
- Separate cosmetic repairs from electrical, structural, and airbag-related work.
- Compare new, used, refurbished, and aftermarket parts by condition and fit.
- Remove trim patiently to protect clips, bezels, wiring, and surrounding panels.
- Control heat, sunlight, and harsh cleaners to preserve the restored dashboard.
Understanding PT Cruiser dashboard parts
The PT Cruiser dashboard is a collection of connected panels, controls, instruments, and storage areas rather than one single replacement piece. Some parts are purely decorative, while others support visibility, climate control, wiring, or occupant safety. Knowing how these pieces relate makes diagnosis and ordering much less confusing.
Main dashboard components and their functions
The main dashboard structure supports the upper pad, instrument cluster, center controls, vents, and several trim sections. Depending on the repair, you may be replacing a visible skin, a mounting piece, a switch surround, or a hidden bracket. Start by identifying the damaged component itself instead of searching only for a general “dashboard.”
A cracked upper panel, for example, calls for a different solution from a loose center bezel or a failed control. Photograph the area from several angles and note whether the problem is cosmetic, mechanical, or electrical. That simple distinction helps you avoid buying a complete assembly when a smaller PT Cruiser dashboard part would solve the issue.
Instrument cluster and gauge-related parts
The instrument cluster contains the gauges and warning indicators that communicate essential vehicle information. Its surrounding bezel may be separate from the cluster housing, and the lens, mounting points, or connector area can each create different symptoms. A cloudy lens is primarily a visibility problem; dead gauges or warning lights may require electrical diagnosis before any part is ordered.
Record which indicators work and which do not, including whether the fault appears constantly or intermittently. Check connectors and related fuses only after following the vehicle’s service guidance. Replacing a cluster without confirming the cause can leave the original fault unresolved.
Trim panels, bezels, and storage compartments
Trim panels frame the radio, vents, gauges, glove compartment, and other dashboard openings. Bezels often rely on small clips and locating tabs, so a panel that looks loose may need only replacement hardware rather than a whole new surround. Storage compartments also deserve close inspection because broken hinges, warped doors, and damaged latches are separate repair concerns.
Compare the texture and sheen of a replacement panel with the pieces still in the vehicle. A technically correct part can look out of place if its finish has faded differently. Keep every removed clip in a labeled container, since similar-looking fasteners may not fit the same mounting point.
Vents, switches, and climate-control components
Air vents, switch panels, and climate-control components combine visible trim with moving or electrical parts. A vent may have a broken directional vane, while the surrounding bezel remains sound. Likewise, a climate-control knob or switch can fail independently of the panel that holds it.
Test the control before dismantling the surrounding area, when safe to do so. Note unusual resistance, missing detents, loose knobs, or changes in airflow direction. Test before replacing is a useful rule here because it narrows the repair and preserves original pieces that are still serviceable.
Identifying the right parts for your PT Cruiser
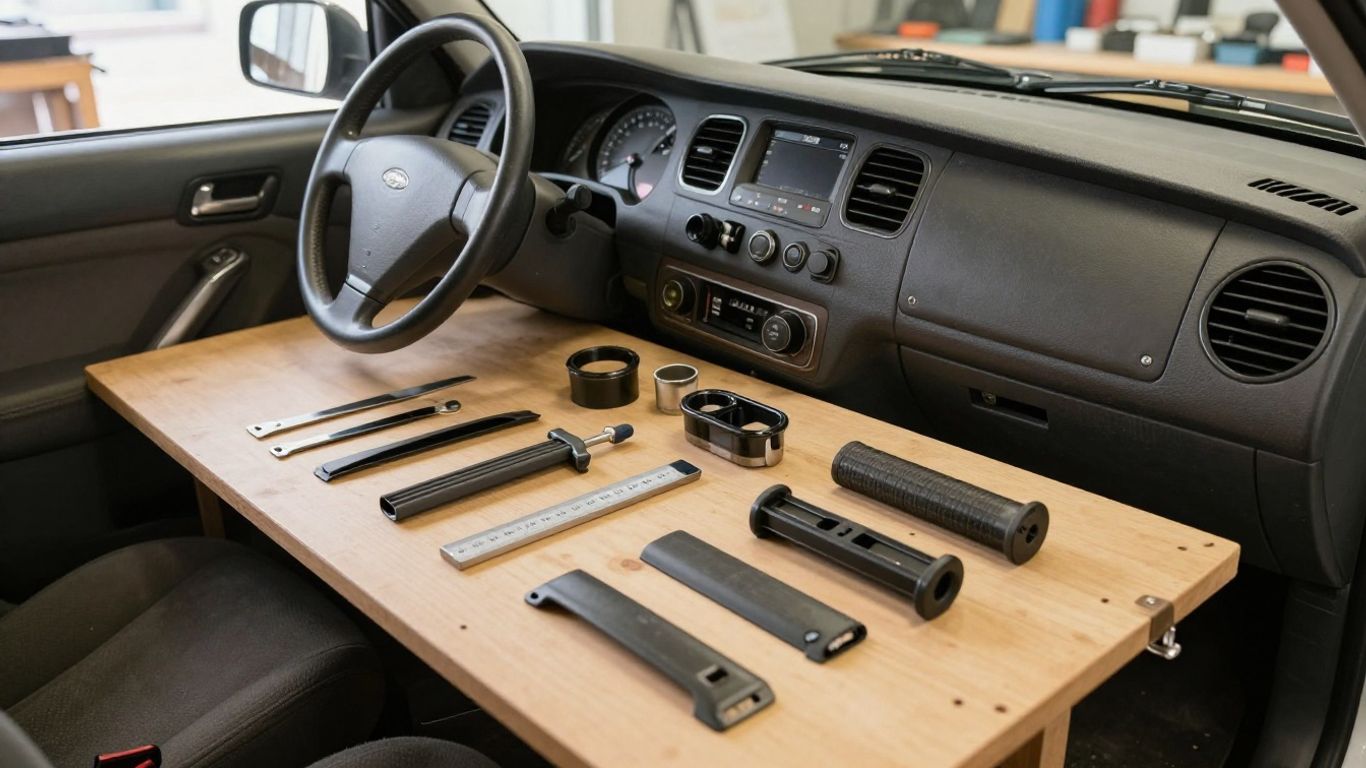
Correct identification is the foundation of a successful dashboard repair. PT Cruisers can differ by production year, trim equipment, steering configuration, and small changes in mounting or finish. Before browsing listings, gather the vehicle details and inspect the existing piece carefully.
Matching parts to the model year
Begin with the vehicle’s model year, but do not assume that year alone guarantees compatibility. Production changes can affect connectors, mounting points, textures, and the shape of surrounding trim. Use the old part’s photographs and attachment points to compare a proposed replacement.
When a listing covers several years, read the fitment notes closely rather than relying on a broad title. Ask the seller whether the exact panel, cluster, or control was removed from a compatible vehicle. A clear answer is more useful than a vague promise that the part “should fit.”
Comparing standard, Touring, Limited, and GT trims
Trim level can influence upholstery, decorative finishes, gauges, controls, and the equipment fitted around the dashboard. Standard, Touring, Limited, and GT vehicles may share many basic components, but shared appearance does not prove interchangeability. Check the donor vehicle’s trim and compare the relevant part number whenever possible.
Pay particular attention to special bezels, gauge faces, switch layouts, and finish colors. If the part is being purchased for appearance rather than function, matching the texture and shade may matter just as much as physical fit. Keep the original piece until the replacement has been test-fitted.
Checking left-hand-drive compatibility
For a US-market PT Cruiser, left-hand-drive compatibility is a practical check for dashboard panels, glovebox areas, instrument clusters, and certain wiring-related pieces. A component designed for a different steering arrangement may have reversed openings, different mounting details, or an unsuitable control layout.
Ask for a photograph of the rear and underside of the part, not just its front surface. Those views can reveal mounting tabs, connector positions, and molded features that are invisible in a polished listing photograph. This is especially helpful when the seller does not provide detailed fitment data.
Using OEM numbers, VIN details, and measurements
OEM numbers provide a stronger starting point than appearance alone, although a visible number may refer to a subcomponent rather than the entire assembly. The VIN can help a parts professional narrow the vehicle configuration, while measurements and photographs provide a final physical check. Use all three sources together when the part is scarce or expensive.
Write down the number, location, color, dimensions, and connector count before contacting a seller. If any detail conflicts with the listing, pause and ask for clarification. Spending a few minutes on verification is usually cheaper than arranging a return for a large, fragile dashboard component.
Diagnosing common dashboard problems
Dashboard faults often develop gradually, and several symptoms can share the same visible cause. Sun exposure may create cracks, while a rattle may come from a hidden clip rather than a warped panel. A careful diagnosis separates what needs restoration from what needs replacement.
Cracks, warping, and sun damage
Cracks in the upper dash can result from heat cycling, age, stress around fasteners, or long exposure to direct sunlight. Warping may prevent a panel from sitting correctly and can place pressure on nearby trim. Inspect the full length of the damage, including edges and mounting points, before deciding whether a repair is practical.
Small surface cracks may respond to a specialist repair method, but deep splits, missing material, and distorted mounting areas are harder to restore neatly. If a replacement is available in good condition, compare its underside and fixing points with the damaged original. A smooth front surface does not guarantee a sound structure.
Faded panels and peeling surfaces
Fading is usually most obvious on exposed upper surfaces, while protected edges retain a darker or glossier finish. Peeling may indicate a failing coating, heat damage, an incompatible cleaner, or an earlier refinishing attempt. Clean a small hidden area first so you can distinguish dirt from permanent surface loss.
Avoid aggressive scrubbing, strong solvents, and glossy products that make the dashboard slippery or visually uneven. If the substrate is intact, a suitable plastic or vinyl refinishing process may be enough. When the material has become brittle, replacement is often the more predictable option.
Broken clips, rattling trim, and loose fittings
Rattles commonly come from missing clips, fatigued tabs, loose screws, or panels that no longer sit against their neighboring surfaces. Listen while the vehicle is stationary and, only when safe, trace the noise by applying gentle hand pressure to nearby trim. Do not force a panel into place, since that can turn a small clip problem into a cracked bezel.
A useful repair sequence is to remove the panel, inspect every attachment point, replace damaged retainers, and test the fit before final tightening. Keep fasteners organized by location. This prevents a short screw from being installed where it could interfere with a hidden component.
Faulty gauges, warning lights, and electrical controls
Gauge failures, unexpected warning lights, and unresponsive controls should be treated as diagnostic issues first. The cause may involve a connector, fuse, ground, switch, sensor, or the instrument assembly itself. Note the exact behavior, including whether the fault changes after the vehicle warms up or after the dashboard is disturbed.
Diagnose the circuit and connection before assuming the visible dashboard part has failed.
That approach reduces unnecessary replacement and helps protect working components. Electrical and restraint-system faults deserve the appropriate service information or qualified assistance, particularly when testing could affect an airbag circuit.
Choosing between new, used, and refurbished parts
There is no single best source for every dashboard repair. A new part may offer the cleanest finish, while a used part can preserve factory fit and appearance at a lower price. Refurbished and aftermarket choices can also make sense when original inventory is limited, provided their condition and compatibility are clear.
When OEM replacement parts are the best choice
An OEM replacement is often attractive when exact fit, original texture, connector placement, or safety-related design matters. It can reduce the uncertainty that comes with adapting a visually similar piece. New original parts may be difficult to find for an older vehicle, so confirm availability and return terms before committing.
For cosmetic panels, the value of OEM depends on the condition of the surrounding interior. A perfect replacement may still look mismatched beside heavily faded neighboring pieces. Consider the whole dashboard rather than judging the replacement in isolation.
Benefits and risks of used dashboard components
Used components can provide factory materials, original mounting details, and a practical solution for discontinued pieces. Salvage parts are especially useful when a small bezel, storage door, or switch surround is no longer sold separately. Their main risks are hidden brittleness, fading, missing hardware, and damage caused during removal.
Ask how the component was stored and whether it came from a vehicle exposed to severe weather. Request close views of corners, clips, screw holes, and coated surfaces. A lower purchase price is less appealing if the part needs immediate refinishing or arrives with the same weakness as the original.
Evaluating refurbished and aftermarket options
Refurbished parts can be worthwhile when the seller explains what was repaired, refinished, or replaced. Look for clear information about the underlying material, surface preparation, color matching, and any remaining imperfections. For aftermarket pieces, compare measurements, mounting design, finish, and return protection rather than relying on a familiar-looking photograph.
The most useful question is not whether a part is labeled refurbished or aftermarket, but what was done to it and how fit was verified. A transparent process gives you more confidence than a broad condition grade. Keep expectations realistic when a replacement is intended to improve appearance but not replicate every factory detail.
Inspecting condition before buying
Before purchasing, inspect the areas that listings often leave out: the underside, rear clips, connector sockets, edges, and mounting bosses. Look for stress whitening in plastic, repaired breaks, heat distortion, and mismatched dye or paint. If the part is large, ask how it will be packaged to prevent bending or impact damage.
Use a simple comparison between the listing and your original part. The shape, attachment points, openings, finish, and included hardware should all make sense together. If one of those details is uncertain, delay the order until the seller provides a better answer.
Replacing PT Cruiser dashboard parts
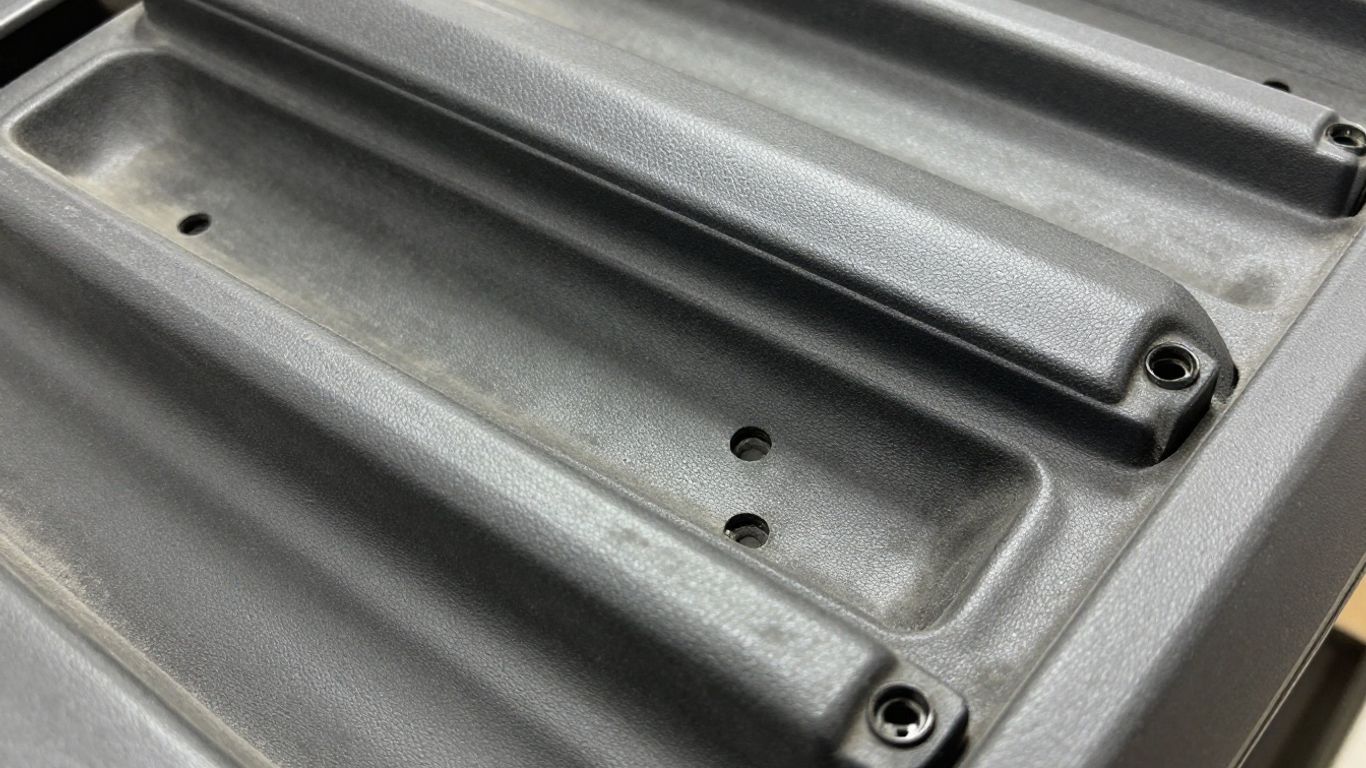
Dashboard replacement is usually easier when approached as a controlled removal and refitting job. Work slowly, label connectors, and protect the surrounding surfaces from tools. The safest method depends on the exact component, so use the vehicle’s service information whenever fasteners, wiring, or restraint equipment are involved.
Preparing tools, workspace, and replacement hardware
Prepare a clean, well-lit workspace with trim tools, suitable screwdrivers, containers for fasteners, masking tape, and a soft covering for nearby surfaces. Compare the replacement with the original before removing anything. This is the moment to spot a missing bracket, clip, screw, or electrical connector.
Disconnecting the battery may be appropriate for some electrical work, but follow the vehicle-specific procedure and allow the required waiting period before touching restraint-related components. Keep the keys away from the vehicle while working. A tidy workspace also makes it easier to notice a dropped clip or connector.
Removing trim without damaging clips or panels
Plastic trim tools distribute pressure more safely than metal screwdrivers. Start at a known clip or seam, release one attachment at a time, and avoid twisting a long panel sharply. If resistance feels excessive, stop and check for a concealed screw or a fastener that has not released.
Lay removed pieces in order and mark their locations with low-tack tape. Replace damaged clips rather than relying on friction or adhesive to hold a panel. Patience matters because older plastic can be less forgiving than it appears.
Handling airbags and electrical connections safely
Airbag areas and electrical connectors require extra care. Do not probe restraint connectors casually, pull on wiring, or place tools where an inflator or module could be disturbed. Follow the service procedure for isolating the system, and use qualified assistance if you are unsure about the work.
For ordinary connectors, release the locking tab before separating the plug and support the connector body rather than the wires. Photograph routing and connector positions before removal. Those records can prevent pinched wiring and confusing reassembly later.
Aligning and securing the replacement components
Test-fit the replacement before fully tightening screws or pressing every clip into place. Check the gaps around neighboring panels, the operation of vents and switches, and the alignment of storage doors. If something sits high or low, remove it and find the cause rather than forcing it flush.
Once alignment is correct, secure fasteners evenly and avoid overtightening plastic mounting points. Reconnect components according to the service information, then inspect the finished panel under normal light. A final functional check should include controls, gauges, illumination, and any affected electrical equipment.
Restoring the appearance of the PT Cruiser dashboard
Not every tired dashboard needs complete replacement. Cleaning, targeted repair, and careful refinishing can improve an otherwise sound interior, especially when the damage is limited to fading or light surface wear. The goal is a durable, even finish that still looks appropriate for the vehicle.
Cleaning plastic and vinyl surfaces correctly
Remove loose dust with a soft brush or vacuum before applying a cleaner. Use a mild product intended for the specific surface and test it in an inconspicuous location. Work with a lightly dampened cloth rather than soaking seams, switches, speaker openings, or electrical areas.
Wipe away residue with a clean cloth and allow the surface to dry naturally. Avoid household solvents, abrasive pads, and heavy silicone products that can leave glare or make controls unpleasant to handle. A clean, low-sheen surface usually looks more original than a glossy one.
Repairing minor cracks and surface damage
Minor cracks and shallow scratches can sometimes be repaired after the material is thoroughly cleaned and stabilized. The repair method should match the substrate and the depth of the damage. Fillers, flexible compounds, and textured coatings each have different preparation requirements, so follow the product instructions rather than layering incompatible materials.
Keep repaired areas small and feather the edges into the surrounding surface. A repair that is too smooth or too glossy may be more noticeable than the original flaw. For extensive cracking or distorted panels, compare the cost of a professional repair with a good used replacement.
Matching colors, textures, and finishes
Color matching is more than choosing a label such as black, gray, or tan. Age, sunlight, cleaning history, and surface texture all affect how a panel appears inside the vehicle. Compare samples in daylight and check the repaired part beside adjacent trim, not under a single bright work lamp.
Texture also matters on molded plastic and vinyl. A smooth coating on a pebbled surface can look artificial, even when the color is close. Build the finish gradually and allow each layer to cure before deciding whether another coat is necessary.
Preventing future fading and heat damage
Limit direct sunlight with a windshield shade and park in covered areas when practical. Keep the interior clean without stripping its surface oils or coatings, and address small lifting edges before they spread. Heat management is particularly helpful for upper dashboard sections exposed to repeated temperature swings.
Use products designed for automotive interiors and avoid leaving heavy objects on soft or weakened panels. Periodic inspection lets you catch loose clips, early fading, and new cracks before the damage becomes a larger restoration project.
Buying PT Cruiser dashboard parts online
Online buying expands the search for older interior components, but it also removes the chance to inspect a part in person. Good listings compensate with detailed photographs, accurate measurements, and honest condition notes. Treat every purchase as a fitment decision as well as a price comparison.
Comparing specialist retailers, salvage yards, and marketplaces
Specialist retailers may organize inventory by vehicle and part category, while salvage yards often have broader access to original used components. General marketplaces can reveal uncommon pieces, but listing quality varies considerably. Compare the seller’s experience, photographs, fitment information, and communication before focusing on the lowest price.
A seller who can identify the donor vehicle and show the actual part is generally easier to evaluate than one using only a generic catalog image. For fragile panels, packaging experience is also relevant. The best source is the one that reduces uncertainty about both condition and delivery.
Verifying photographs, descriptions, and compatibility
Read the description alongside the photographs and look for contradictions. A part described as complete may not include clips, brackets, knobs, or lenses visible in the picture. Ask for images of the rear, edges, mounting points, and any flaws that could affect installation.
Send the seller your year, trim, steering configuration, OEM number, and measurements when available. Written confirmation is useful if a return becomes necessary. Save the listing and messages until the part has been installed and tested.
Reviewing shipping, returns, and warranty policies
Large dashboard pieces need protective packaging, and shipping damage can turn a good purchase into a difficult dispute. Review whether the seller uses a rigid box, edge protection, and sufficient padding. Check who pays return shipping, how damage must be reported, and whether the return window begins at delivery.
Warranty language should explain what is covered and what is excluded. Cosmetic wear, hidden cracks, electrical function, and missing hardware may be treated differently. Read those details before paying, especially for used or refurbished components.
Estimating total replacement and installation costs
The purchase price is only one part of the repair budget. Add shipping, clips and fasteners, cleaning or refinishing materials, possible professional labor, and the cost of returning an incorrect part. For a large dashboard assembly, packaging and installation can have a meaningful effect on the final amount.
Make a simple estimate before ordering and compare it with the value of repairing the existing piece. If the work involves airbags, complex wiring, or extensive disassembly, include qualified labor in the calculation. A realistic total helps you choose the right part instead of simply the cheapest listing.
Conclusion
The best PT Cruiser dashboard parts purchase begins with a careful diagnosis and ends with a patient installation or restoration. Confirm the vehicle details, inspect condition beyond the visible surface, and account for fitment, safety, shipping, and finish. With that process, even an aging PT Cruiser interior can be repaired thoughtfully and kept looking right for many more miles.