Key Takeaways
Maintaining older vehicles often requires sourcing quality components, which this guide helps you navigate effectively. Following these steps ensures a successful repair experience for your vehicle.
- Compatibility depends heavily on exact OEM part numbers.
- Local dismantlers provide excellent hands-on inspection opportunities.
- Always test solenoid function before finalizing any purchase.
- Proper tool selection prevents damage to mounting hardware.
- Clean grounding points are crucial for consistent performance.
Understanding second hand Chrysler starter compatibility
Selecting the right component is the most critical step in rejuvenating your vehicle’s starting system. Chrysler produces robust engines that depend on precise ignition components to function correctly, meaning mismatched parts can cause permanent damage to your flywheel or wiring harness. Taking the time to research your specific requirements prevents unnecessary headaches during the installation process.
Identifying correct part numbers
You must verify the specific manufacturer part number stamped on your original unit. Comparing this number to any potential replacement is the only way to guarantee a direct fit, as cosmetic similarities often hide internal differences in gear pitch or rotation tooth counts.
Matching specific engine models
Engine displacement and fuel type dictate the power requirements of the starter motor needed. The Chrysler Grand Voyager requires specific electrical specs for its starting system to kick over the motor efficiently, so ensure you source a high-torque unit rated for your engine size.
Distinguishing between vintage and modern Chrysler systems
Older units often feature different solenoid wiring and mounting patterns compared to newer replacements. Older Chrysler ignition systems relied on external relays, while modern electronics are integrated directly into the starter housing itself, making visual identification paramount.
Where to source quality used Chrysler starters
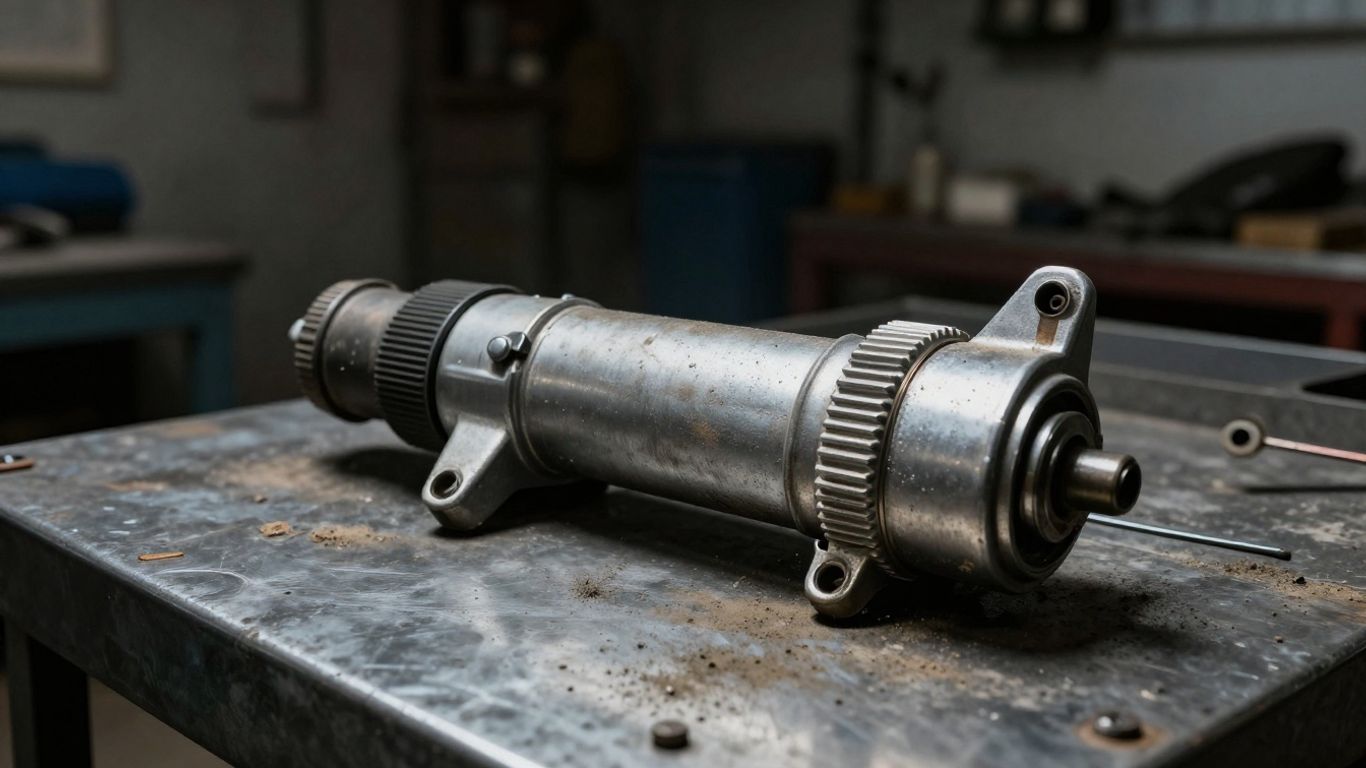
Finding a reliable component relies on knowing where to look and what questions to ask. Dealers often charge premium prices for new stock, but independent suppliers frequently hold hidden gems for those willing to do a little legwork. Owners of the Chrysler 300C often find compatible parts through verified dismantling networks.
Evaluating local auto dismantlers
Visiting a yard in person allows you to see the donor vehicle and evaluate the environment where the part was stored. You can quickly assess the quality of the findings by checking the donor vehicle’s general condition, as it often correlates with the care given to electrical parts.
| Part Source Type | Benefit | Reliability Rating |
|---|---|---|
| Local Dismantler | Hands-on inspection | High |
| Online Marketplace | Wide inventory range | Medium |
| Private Seller | Negotiable pricing | Low |
Comparing these sources allows you to balance the need for immediate availability against the desire for a verified, working product.
Benefits of online parts marketplaces
Online platforms centralize inventory from thousands of sellers, providing a convenient way to filter by your exact search parameters. These sites often include digital photos and shipping logistics, allowing you to access a much larger inventory than you would find in your immediate geographic area.
Tips for safe transactions on private sales
When buying from individuals, prioritize listings that include clear videos of the component being tested or a clear history of its service. Always communicate through secure platform channels and request detailed photos of the terminal and pinion gear condition before agreeing to any travel or payment.
How to inspect used starters before buying
Once you have a potential part in hand, you must verify that the internal mechanisms are healthy before you commit to the installation. Simple physical checks can tell you more about the longevity of the unit than any reassurance from a seller could possibly provide.
Testing pinion gear movement
Manually slide the pinion gear along the shaft to ensure it moves freely without sticking or binding against the housing. A smooth, spring-loaded return indicates that the internal drive mechanism is in good working order and ready to interface with your engine’s ring gear.
Checking for solenoid function
Applying a short burst of 12-volt power to the solenoid terminal can confirm that the engagement mechanism is firing as intended. While this does not test the motor under load, a firm, audible click confirms that the internal electromagnetic switch is operating.
Inspecting housing for corrosion or physical damage
Check the mounting flanges for cracks and ensure the electrical terminals are free of excessive oxidation or stripped threads. A unit with a compromised housing is prone to misalignment, which can lead to rapid failure of both the starter and the flywheel gear.
Essential tools for starter replacement
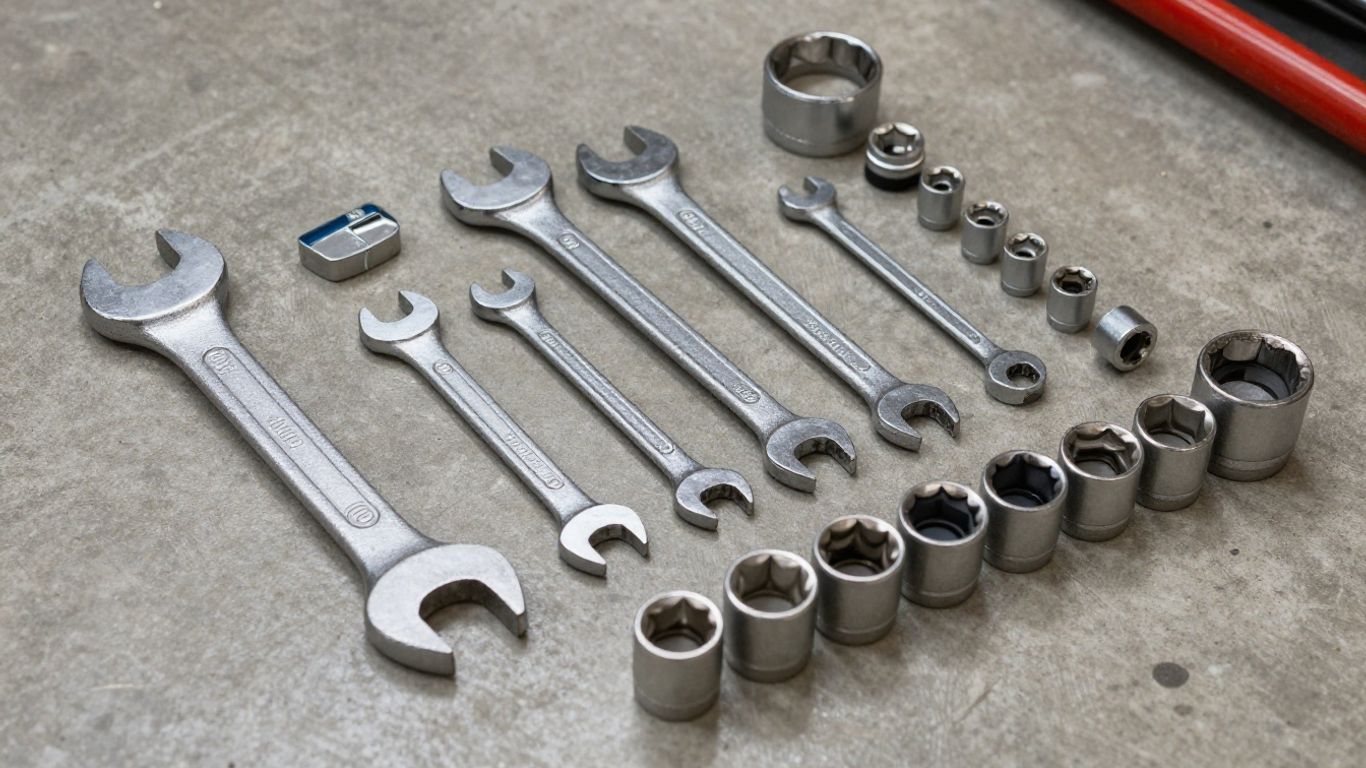
Having the right set of tools makes the difference between an hour of productive work and a full day of frustration. Before sliding beneath your vehicle, organize your workspace to ensure all required equipment is reachable and in good condition.
Handling electrical safety protocols
Working with high-amperage components mandates disconnecting the power supply entirely to avoid dangerous shorts. Keeping a clean workspace ensures that you do not accidentally bridge a hot terminal with a metal tool, preventing potential arc damage to the vehicle’s electrical system.
Choosing the right socket sets for Chrysler mounts
Chrysler platforms frequently utilize varying bolt sizes, so keep deep-well sockets and extenders handy. Using the wrong size can deform the bolt heads, and since these mounts carry high stress, using a high-quality six-point socket helps prevent rounding the edges off during removal.
Managing heavy lifting with transmission jacks
Lifting a starter motor into place requires careful alignment while working in cramped quarters.
Supporting the starter with a stable lift or a strap allows you to guide the unit into the mounting hole without damaging the delicate engagement gear. This small bit of support simplifies the task considerably.
Installation procedures for Chrysler starters
Following a structured sequence for installation ensures that every connection is secure and aligned correctly. You should confirm the alignment of the mounting bolts before tightening anything down completely to prevent binding or gear wear.
Disconnecting the battery safely
Always remove the negative battery cable first, as this disables the entire starting circuit and prevents accidental current flow. Verify that the cable is tucked far away from the battery post during the entire, labor-intensive installation process.
Accessing the restricted mounting spaces
Most Chrysler starter positions are tucked away behind engine mounts or exhaust manifolds, necessitating the use of specialized wobble extensions. Patience is your best friend here, as forced maneuvers often lead to stripped threads or damaged wiring connectors.
Proper wiring connection and terminal cleaning
Before attaching the cables, use a wire brush to clean the terminals until they shine, as even minor corrosion can lead to slow cranking speeds. Firmly torque the fasteners according to your vehicle’s service manual to ensure low resistance and reliable power delivery.
Troubleshooting issues after installation
If the engine fails to turn over after you have finished, do not panic, as most issues are related to simple electrical or mechanical oversights. Review your connection points and confirm that you have provided the system with full power to start the diagnostic process effectively.
Diagnosing clicking sounds
Rapid clicking typically points to an exhausted battery or a loose terminal, while a single solid click suggests a potential failure in the solenoid engagement. If you hear this, ensure that your battery is fully charged before assuming the unit you purchased is faulty.
Checking the basics often illuminates the root of the problem without needing to remove the starter again.
Simple continuity tests can verify that the signal wire is delivering the necessary voltage to trigger the starter solenoid on demand. Verifying this signal eliminates common electrical failure points.
Addressing failure to engage the flywheel
If the motor spins fast but the engine does not turn, the starter drive might not be reaching the flywheel correctly due to a shim issue. Check that no debris is stuck between the mounting surfaces, which could cause a misalignment that prevents proper gear meshing.
Resolving grounding issues in electrical systems
Poor grounding between the starter housing and the engine block will cause intermittent starting challenges that get worse over time. Ensure that the mounting bolts are free of paint or sealant and that the ground strap is securely fastened to a chassis point.
Conclusion
Successfully replacing a starter requires patience and a systematic approach to both sourcing and mechanical execution. By verifying part compatibility and ensuring clean electrical contacts, you can achieve professional results while saving significant money on your automotive maintenance projects.