Key Takeaways
Navigating the process of purchasing and installing pre-owned charging components requires careful preparation and attention to detail. This guide highlights the essential steps to ensure you acquire a functional part that integrates safely with your vehicle.
- Identify the specific amperage and part number requirements for your vehicle model.
- Inspect the physical condition of the alternator for signs of thermal or structural damage.
- Utilize multimeter testing to confirm the electrical output of a sourced component.
- Always disconnect the battery leads before starting any mechanical installation work.
- Verify that all mounting bracket hardware is intact and provides a secure fit.
Understanding your Chrysler charging system
Modern vehicle electrical systems rely on a consistent flow of power to keep various subsystems operational during transit. The charging loop depends entirely on the alternator to convert mechanical rotational energy into the electrical current required by the battery and electronic control modules.
Anatomy of a typical Chrysler alternator
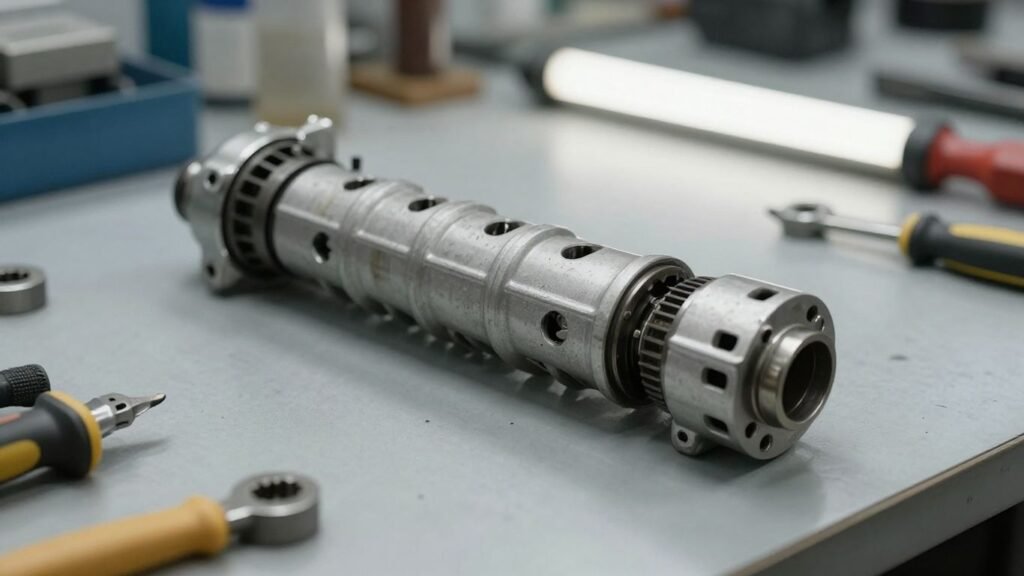
The internal architecture of these components includes a rotor, a stator, and a set of silicon diode rectifiers that manage the conversion process. These parts work in tandem to regulate the flow of electricity, ensuring that the battery remains charged without overloading sensitive digital sensors found in later car models.
Signs of a failing alternator versus a bad battery
Distinguishing between a dying battery and a faulty alternator is a primary concern for any owner facing electrical issues. A frequent symptom of charging failure involves the headlights dimming suddenly when the engine speed drops, which often points away from the battery itself.
Importance of matching part numbers for your Chrysler model
Engineering specifications can change significantly giữa production years, making direct part swaps problematic if the numbers do not line up. Finding the correct unit for your specific trim level is a critical step in vehicle maintenance to avoid erratic electronic behavior or premature system failure.
Assessing the quality of a used alternator
Visual and tactile inspections provide the first indicators of whether a unit is worth your investment. Before committing to a purchase, you should thoroughly examine the exterior and moving parts to ensure no internal damage exists that would hinder long-term performance.
Evaluating pulley condition and spinning resistance
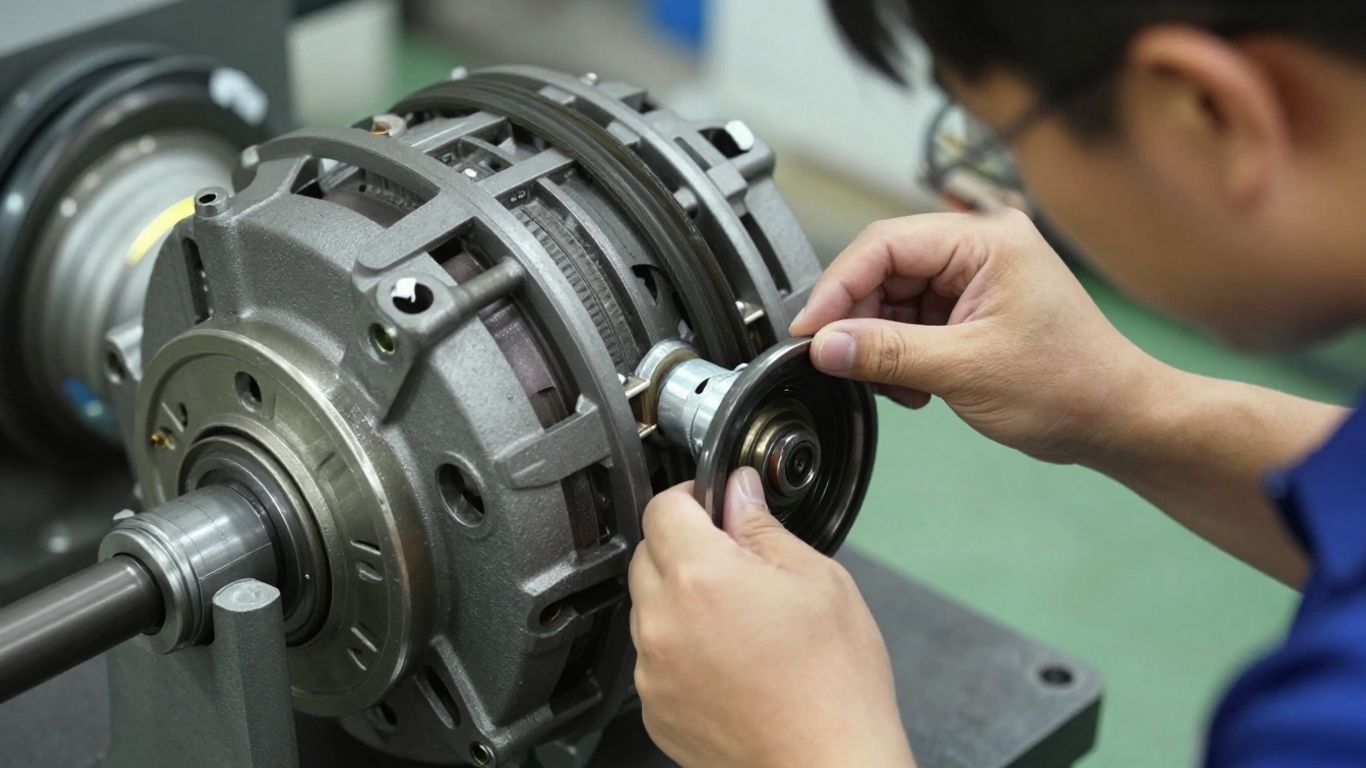
The pulley is the primary interface between the engine and the charging system, and it should rotate smoothly without grinding noises. If you feel hesitation or hear crunching sounds during rotation, the internal bearings are likely compromised.
Detecting smells of burnt electrical components
Olfactory checks often reveal issues that are not immediately visible to the naked eye. An acrid, ozone-like scent emanating from the casing is a definitive sign of insulation degradation or scorched windings, which suggests the unit has been pushed past its safe operational thermal limits.
Checking the casing for cracks or thermal damage
The housing serves to protect the sensitive internal wiring from the harsh environment of the engine bay, so any visible stress cracks are cause for concern. To help clarify which areas of the housing are most susceptible to long-term wear, consider the following structural points.
| Observation Point | Potential Issue | Warning Level |
|---|---|---|
| Mounting Lugs | Stress fractures | High |
| Cooling Fins | Clogged debris | Moderate |
| Terminal Posts | Corrosion buildup | Low |
Checking these specific areas allows you to determine if the part was salvaged from a vehicle that suffered severe vibration or heat exposure. If you notice structural irregularities, it is best to inspect an alternative unit instead of attempting a repair.
Sourcing reliable used Chrysler alternators
Acquiring parts from respected suppliers reduces the risk of installing a unit that fails shortly after the project is complete. Prioritize sources that provide clear history or thorough bench testing results for every item in their inventory.
Checking specialized auto salvage yards
Local yards often hold a wealth of genuine components and allow for direct physical inspection before any money changes hands. This method is highly effective for identifying units with minimal mileage or clean casing conditions.
Evaluating the reputation of online parts retailers
Internet marketplaces can be vast, but they require a critical eye regarding seller feedback and return policies. Seek out vendors who clearly outline the testing process performed on their stock to verify the legitimacy of the electrical output claims.
Benefits of buying from a professional mechanic supply
Professional shops frequently transition used but tested components into their inventory after replacing them with new stock for preventative maintenance. These sources often represent the safest route, as they have qualified technicians verifying the functionality of every part.
Testing the part before installation
Confirmation of electrical performance is mandatory before bolt-in procedures take place. Attempting to test a part while it is mounted can be difficult, which is why external verification provides the most accurate data.
Bench testing at local auto parts stores
Many retail stores possess specialized test benches that spin the alternator and measure its ability to maintain voltage under a load. This process mirrors the conditions the part will face inside your engine bay during normal operation.
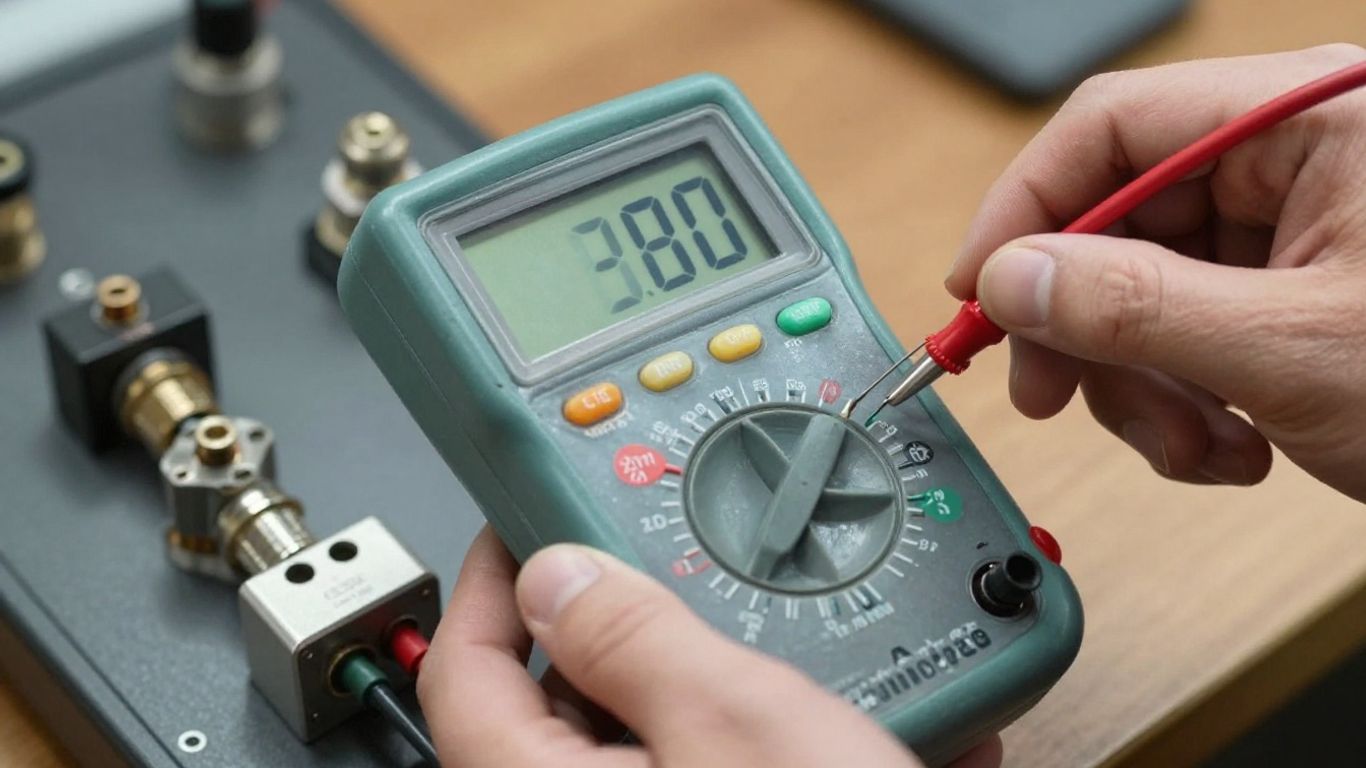
Using a multimeter to verify output voltage
If you have a digital multimeter, you can check the diodes and stator health by measuring the voltage across the output posts. In some cases, a shop may provide a range of acceptable output values for these specific components.
Accurate voltage readings indicate the internal electronics remain stable and capable of sustaining the required current flow for your vehicle subsystems.
Consistent voltage measurement ensures that the unit satisfies the power demands of your particular trim. Any significant deviation from these readings serves as a warning that the device may be reaching the end of its useful lifespan.
Checking for noisy bearings under load
Even if a unit produces the correct amount of current, a loud or oscillating sound suggests imminent failure. Ensure the rotation remains quiet and consistent so you do not have to perform the removal process again in the near future.
Installation tips for your replacement alternator
Mechanical installation involves precision to ensure the serpentine belt maintains the correct path and tension. Follow the factory service procedures mapped to your specific engine type to guarantee a secure fit.
Disconnecting the battery for safety
Electricity travels through the main positive lead even when the engine is cold, creating a risk of short circuits if a tool contacts the frame. Removing the ground terminal is a non-negotiable safety step that isolates the system.
Inspecting the electrical leads and ground cables
Corrosion on the wire terminals can impede current flow and trick you into believing your new part is failing. Before completing the installation, clean all contact surfaces to ensure low-resistance connectivity throughout the charging loop.
Ensuring proper serpentine belt tension upon reassembly
When the belt is installed, the tensioner must hold the belt firmly enough to prevent slippage during acceleration. Verify the alignment of all pulleys after tightening the mounting bolts to prevent premature wear on the belts themselves.
Common mistakes when buying used electrical parts
Avoid the temptation to prioritize price over compatibility when selecting your parts. A cheap unit that does not match your current system specifications will only cause more frustration during the troubleshoot phase.
Overlooking the amperage rating requirement
Installing an alternator with an amperage output that falls short of your vehicle’s capability will lead to a constantly drained battery. Check the original equipment specifications to confirm that your replacement meets the minimum electrical output required by your vehicle’s onboard electronics.
Assuming a used part will always be a direct fit
Even within the same brand, mounting brackets and electrical connector shapes can vary across production years. Confirm that the physical plug layout and the distance between mounting holes align perfectly with your existing harness and bracket system.
Skipping the inspection of mounting brackets
If the mounting hardware on your replacement unit shows signs of stripping or rust, the unit itself may vibrate or shift during operation. Take a moment to ensure that all threads are clear and that the casing does not wobble when placed against your engine frame.
Conclusion
Choosing and installing a used Chrysler component requires careful verification, but it remains a practical way to maintain vehicle electrical systems. By conducting thorough quality assessments and ensuring professional-grade installation, you can restore your vehicle’s charging reliability while remaining mindful of the overall project costs.