Key Takeaways
Choosing components from salvaged vehicles offers significant benefits for car owners looking for affordable and eco-friendly repair solutions. Understanding what to look for ensures you receive reliable performance and a perfect fit for your specific vehicle.
- Sourcing reclaimed parts dramatically reduces manufacturing energy demand.
- Using pre-owned components provides substantial savings versus factory-new pricing.
- Cross-referencing part numbers is essential for ensuring vehicle compatibility.
- Physical inspection upon arrival helps detect any hidden structural damage.
- Proper installation techniques preserve the longevity of your electrical connections.
Understanding the value of recycled Chrysler tail lights
Opting for salvaged automotive lighting balances practical finances with a commitment to sustainable reuse. When you choose to purchase recycled Chrysler tail lights, you are extending the operational lifespan of existing manufacturing output rather than commissioning new production cycles. This approach benefits both the local environment and your long-term maintenance strategy.
Environmental impact of choosing used auto parts
Reducing demand for newly manufactured plastic and glass housings keeps materials out of landfills while lowering the industrial carbon footprint. By reusing parts that are already in circulation, you minimize the raw resource consumption required to create original equipment from scratch. This quiet act of conservation supports a more sustainable lifecycle for every Chrysler Grand Voyager on the road.
Cost-effectiveness compared to dealership prices
Navigating repair costs often becomes the primary concern for vehicle owners faced with a broken lens or failing electronics. Used parts typically cost a fraction of what a dealership charges for brand-new inventory, allowing you to allocate your budget more effectively. This price gap makes it possible to maintain your vehicle to a high standard without overextending your financial resources.
Compatibility with various Chrysler models
Many components within the brand’s design library are standardized across specific generations to improve manufacturing efficiency. Whether you drive a classic Chrysler 300C or a more modern family hauler, understanding the specific assembly requirements for your model year ensures that your swap goes smoothly. Always verify the cross-compatibility of parts before committing to a purchase to avoid installation frustrations.
Identifying quality criteria for used tail lights
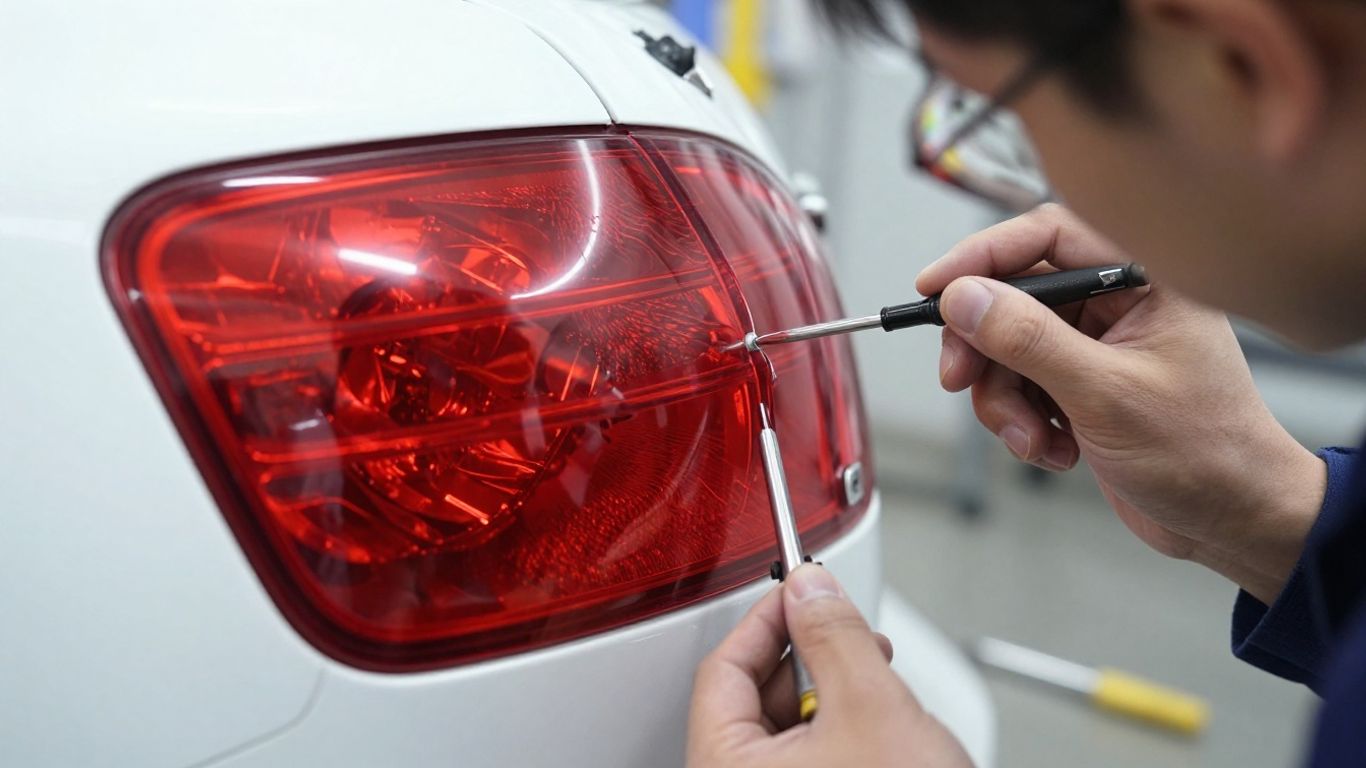
Finding reliable components requires a discerning eye, especially when shopping online or through secondary market channels. You need to verify the structural integrity of every unit before you consider bringing it home. Assessing the visual condition, mounting hardware, and matching specifications will help you avoid the common pitfalls associated with substandard parts.
Checking for lens cracks and moisture damage
Inspect the exterior lens for any hairline fractures or signs of internal condensation that could indicate a failed seal. Water ingress leads to corrosion of the internal bulb sockets, which may render the entire assembly unusable shortly after installation. Look for clear, vibrant lenses that retain their factory finish without yellowing or deep gouges.
Verifying mounting tab integrity
Many recycled housings face damage during the removal process from the primary donor vehicle, particularly near the fastening points. Carefully inspect every mounting tab to ensure it remains flush and uncracked, as these tabs hold the lamp securely against the body sheet metal. Relying on damaged tabs usually results in rattling lamps or poor alignment that lets moisture seep inside.
Matching specific part numbers to your VIN
Even within the same production year, slight variations in trim levels can affect electrical connector types or internal housings. Using your VIN ensures you receive the exact configuration required for your specific build. This is the most effective step to guarantee that your replacement fits seamlessly without additional wiring modifications or clearance adjustments.
Top sources for finding high-quality recycled parts
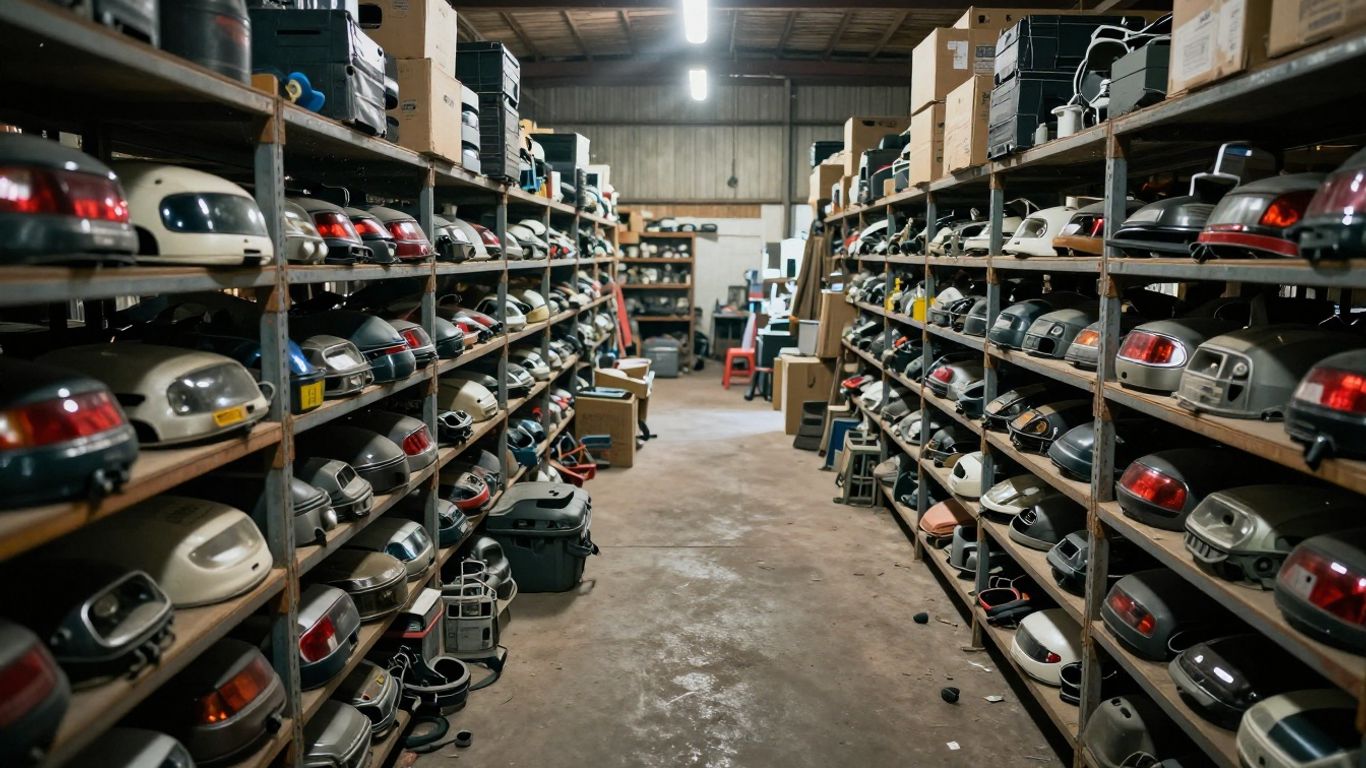
Locating premium parts depends on your ability to connect with vendors who track their inventory with care. Successful sourcing often involves digital databases or established salvage networks that demand accountability from their participants. High-quality parts often come from facilities that prioritize professional cataloging and protection from the elements.
Reputable online auto salvage networks
Digital marketplaces connect you with thousands of salvage yards across the country, expanding your search radius significantly. These platforms allow you to filter results by condition, mileage of the donor vehicle, and proximity to your location. Utilizing a national search often uncovers rare components that might be unavailable in your immediate area for a Chrysler Crossfire project.
Local junkyard inventory management systems
Visiting a local facility allows you to inspect the parts firsthand before paying, which is an ideal scenario for most DIY enthusiasts. Many modern salvage yards now maintain digital inventory lists that you can query over the phone to save yourself an unproductive trip. Engaging with staff in person can sometimes reveal fresh arrivals that haven’t been processed into the online system yet.
Certified automotive recycler programs
Certified programs set rigorous standards for how vehicles are dismantled, tested, and stored. When you buy from a certified recycler, you have a baseline expectation of quality control that may include a basic guarantee or a return policy. These professionals invest in equipment to ensure that the parts sold remain safe and fully functional for the end user.
Inspecting your purchase upon delivery
Once your part arrives, immediate verification is essential before you begin the process of removal and reassembly. Taking the time to perform a thorough check protects your investment and ensures your repair will be successful. Start by comparing the received item against your original removed lamp to confirm the electrical layout matches perfectly.
Testing the electrical connections before mounting
Before you commit to bolting the lamp in, hook up the wiring harness temporarily to confirm each bulb illuminates as expected. Check for signals, brake lights, and illumination to see if the internal circuit board is healthy and free of shorts. A quick bench test ensures that you aren’t doing the work of installing a unit that possesses hidden electrical gremlins.
Evaluating the condition of the gasket seal
A proper seal prevents moisture from entering the housing and ruining your new light assembly. Review the following attributes to confirm your gasket is ready for installation:
| Attribute | Expected State | Requirement |
|---|---|---|
| Compression | Bouncy and uniform | No permanent deformation |
| Adhesion | Firmly attached to plastic | Peel-resistant edges |
| Surface | Smooth and debris-free | Clean seal contact area |
Maintaining the structural integrity of this seal is crucial for long-term protection, so ensure it seats correctly against the body panels.
Addressing minor cosmetic imperfections
If you find light surface scratches or minor scuffs on the lens, they can often be remediated with a professional plastic polishing kit. Use a fine-grit compound to buff away oxidation or haze, restoring clarity to the plastic surface. Avoid using harsh chemical cleaners that could degrade the protective top coat or cause micro-cracking over time.
Step-by-step installation overview
Replacing a tail light assembly is a standard procedure that usually requires only basic hand tools. Working methodically prevents damage to the plastic trim clips and holds the vehicle’s body finish in pristine condition throughout the process. Take your time during each stage to ensure every fastener sits flush and tight.
Essential tools for Chrysler tail light removal
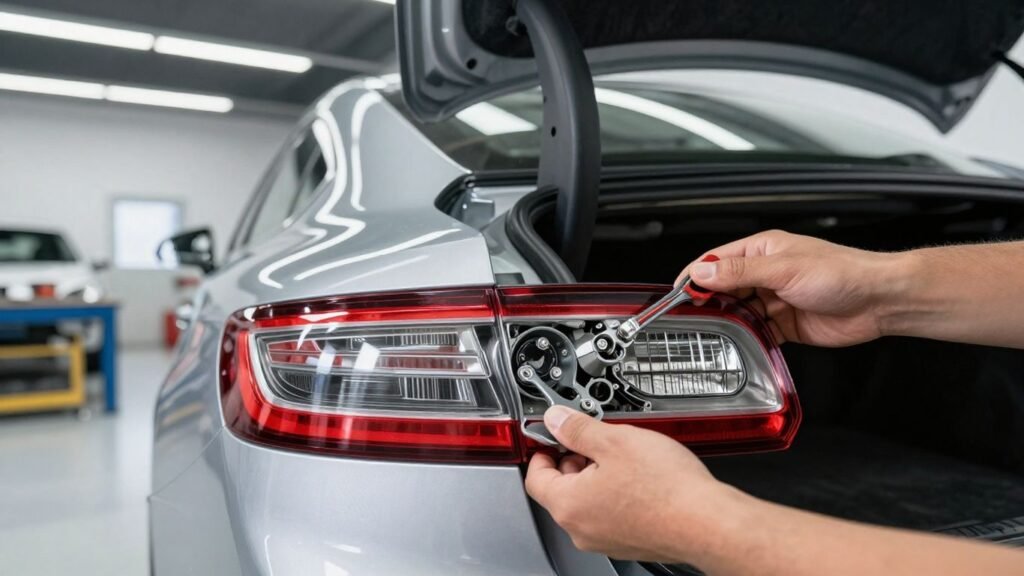
A simple kit including a socket wrench set, a trim panel removal tool, and a set of nylon pry bars is usually sufficient to handle the job. Clear enough space in your workspace to keep track of every screw and clip you remove during the disassembly. Organizing these small parts in a tray keeps your work surface clean and prevents losing essential hardware.
Safely disconnecting wiring harnesses
Never pull on the wires directly, as the delicate insulation can snap if handled too roughly. Instead, focus your grip on the plastic connector housing and press the tension clip to release it smoothly.
Always ensure the vehicle ignition is switched completely to the off position before working with any electrical lighting components to avoid accidental short circuits or blown fuses during the transfer process.
Take this moment to inspect the connector for signs of heat damage or melted plastic shielding that could compromise your new unit.
Troubleshooting common installation issues
If the lamp does not fit flush after installation, verify that no debris or old gasket material is stuck to the body frame. Sometimes the mounting studs may need a minor adjustment to line up with the openings in the chassis. If the lights fail to turn on, double-check your connections and test the bulbs themselves for continuity before assuming the replacement housing is at fault.
Conclusion
Replacing your tail lights with high-quality recycled alternatives provides a smart path forward for vehicle maintenance, blending value with responsible stewardship of parts. By thoroughly inspecting every component and following a careful installation process, you keep your vehicle functioning safely and looking its best for many more years on the road.