Dealing with electrical problems in your Chrysler can feel like a puzzle sometimes. Lights flicker, things don’t start, or maybe a window just won’t roll down. It’s easy to get frustrated, but often, the issues are fixable with a bit of know-how. This guide is here to help you sort out those electrical gremlins in your Chrysler. We’ll go over the basics, how to read those tricky wiring diagrams, and what tools you might need to get the job done.
Key Takeaways
- Understanding the basic parts of your Chrysler’s electrical setup is step one for any repair.
- Learning to read Chrysler wiring diagrams makes it easier to find where problems are happening.
- Knowing common electrical issues and how to test for them saves time and guesswork.
- Having the right tools, like a multimeter, makes electrical work much simpler.
- Regular checks of your wiring and battery can stop problems before they start.
Understanding Your Chrysler Electrical System
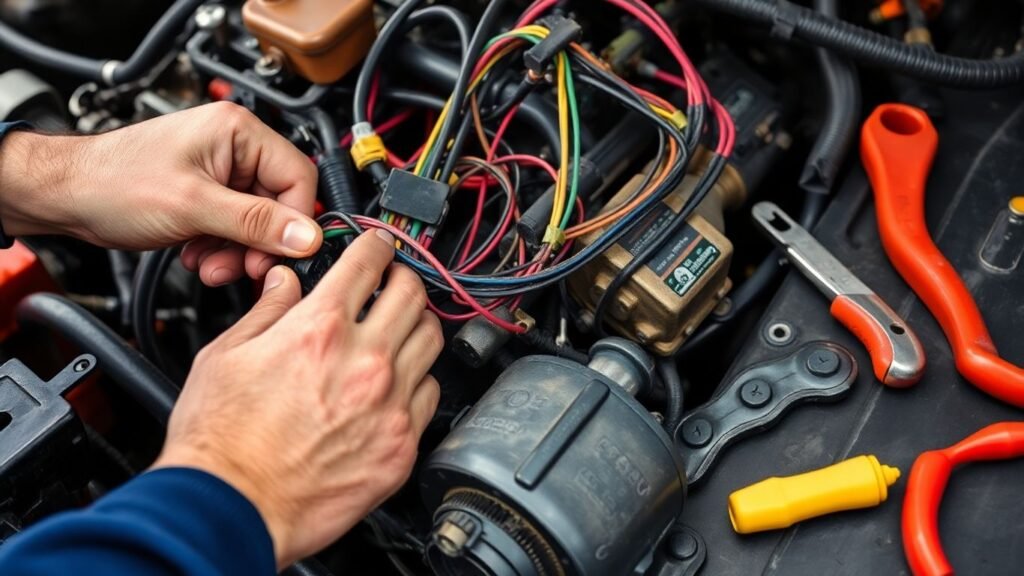
Core Electrical System Components
Your Chrysler’s electrical system is like its nervous system, sending signals and power all over the place. At its heart, you’ve got the battery, which is basically a big storage tank for electrical energy. When the engine’s off, it powers things like your lights and radio. Then there’s the alternator, which is like a mini power generator. It kicks in when the engine’s running to recharge the battery and keep everything else powered up. The starter motor is another key player; it’s a powerful electric motor that gets the engine turning over when you twist the key or push the start button. All these parts are connected by wires, fuses, and relays, which act like traffic cops, directing electricity where it needs to go and protecting circuits from overload.
Basic Principles of Automotive Electricity
Think of electricity like water flowing through pipes. Voltage is the pressure pushing the water, measured in volts (V). Current is the amount of water flowing, measured in amperes or amps (A). Resistance is what slows down the flow, like a narrow pipe, measured in ohms (Ω). In a car, the battery provides the voltage, the wires carry the current, and components like light bulbs or motors offer resistance. Ohm’s Law (V = I x R) is the golden rule here, showing how these three are related. Understanding this helps figure out why a circuit might not be working – maybe there’s not enough voltage, too much resistance, or a break in the circuit.
Importance of a Well-Maintained System
Keeping your electrical system in good shape is pretty important, honestly. A healthy system means your car starts reliably, your lights work when you need them, and all those power windows and gadgets function as they should. Neglecting it can lead to all sorts of headaches, from a dead battery on a cold morning to more complex issues that can be a real pain to track down. Plus, a well-functioning electrical system is safer. Faulty wiring can sometimes be a fire hazard, and you definitely don’t want your headlights flickering out on a dark road.
A little bit of regular checking goes a long way. It’s not about being a master mechanic, just about noticing things like frayed wires or corroded battery terminals before they become big problems. It saves you time, money, and a lot of frustration down the road.
| Component | Function |
|---|---|
| Battery | Stores and supplies electrical energy |
| Alternator | Recharges battery and powers system when running |
| Starter Motor | Cranks the engine to start it |
| Fuses | Protects circuits from overcurrent |
| Relays | Act as electrically operated switches |
Navigating Chrysler Wiring Diagrams
Alright, so you’ve got a Chrysler that’s acting up electrically, and you’re staring at a wiring diagram. Don’t let those lines and colors make your head spin. Think of these diagrams as the electrical roadmap for your car. They show you exactly how the power flows from the battery, through all the switches and components, and back to ground. Understanding these diagrams is your first big step to fixing electrical problems.
Decoding Diagram Symbols and Layouts
These diagrams use a bunch of symbols to represent different parts. You’ll see squares for switches, circles for connectors, and various shapes for components like relays or motors. Most Chrysler diagrams lay things out pretty logically. Usually, the power side of a circuit is shown at the top, and the ground side is at the bottom. Components are often shown in their ‘rest’ position, meaning when they’re not activated. Solid lines typically mean a complete wire or connection, while dashed lines might indicate a splice or a different type of connection. It takes a little practice, but once you get the hang of the symbols, you can start to see how everything is connected.
Wire Color Codes and Circuit Identification
Chrysler uses a system for wire colors and circuit identification that’s pretty helpful once you know what to look for. Each wire usually has a color code, and sometimes a number or letter designation printed on it, which tells you what circuit it belongs to. This is super important for tracing a wire from one point to another. For example, a "PK" might mean pink, and a "GY" might mean gray. You’ll often find a chart in the service manual that breaks down these color codes and what each circuit does. It’s like a secret code, but once you crack it, you can follow a specific circuit all over the vehicle.
Here’s a quick look at some common wire color codes you might see:
| Color Abbreviation | Color Name |
|---|---|
| BK | Black |
| BR | Brown |
| DG | Dark Green |
| GY | Gray |
| LB | Light Blue |
| OR | Orange |
| PK | Pink |
| TN | Tan |
| VT | Violet |
Tracing Power and Ground Paths
When you’re troubleshooting, you’re often trying to figure out where the power is going, or why it’s not getting there. You need to follow the path of electricity. Start at the power source (usually the battery) and trace the wire using the diagram. See where it goes through fuses, relays, switches, and finally to the component that’s not working. Equally important is the ground path. For a circuit to work, it needs a complete loop back to the negative side of the battery. If a ground wire is loose, corroded, or broken, the component won’t function, even if it’s getting power. You’ll often find ground points bolted directly to the car’s chassis or body.
When you’re looking at a diagram, remember that a component might have multiple wires connected to it. One wire might bring power in, another might carry power out to the next component, and another might be the ground wire. You have to pay attention to each individual wire’s function and color code to correctly diagnose the issue.
So, take your time with the diagrams. They might seem complicated at first, but they are your best friend when you need to figure out what’s going on with your Chrysler’s electrical system.
Common Chrysler Electrical Faults and Diagnosis
Identifying Symptoms of Electrical Issues
Sometimes, the first sign of an electrical problem isn’t a complete failure, but something weird. Lights flickering, a radio that cuts out randomly, or a power window that only works sometimes – these are all classic indicators that something’s up with your Chrysler’s electrical system. Don’t just ignore them! These little quirks can be early warnings before a bigger issue pops up. Think of it like a strange noise in your engine; you wouldn’t just turn the radio up, right? You’d want to figure out what’s causing it. The same goes for electrical gremlins. Paying attention to these subtle signs can save you a lot of headaches down the road.
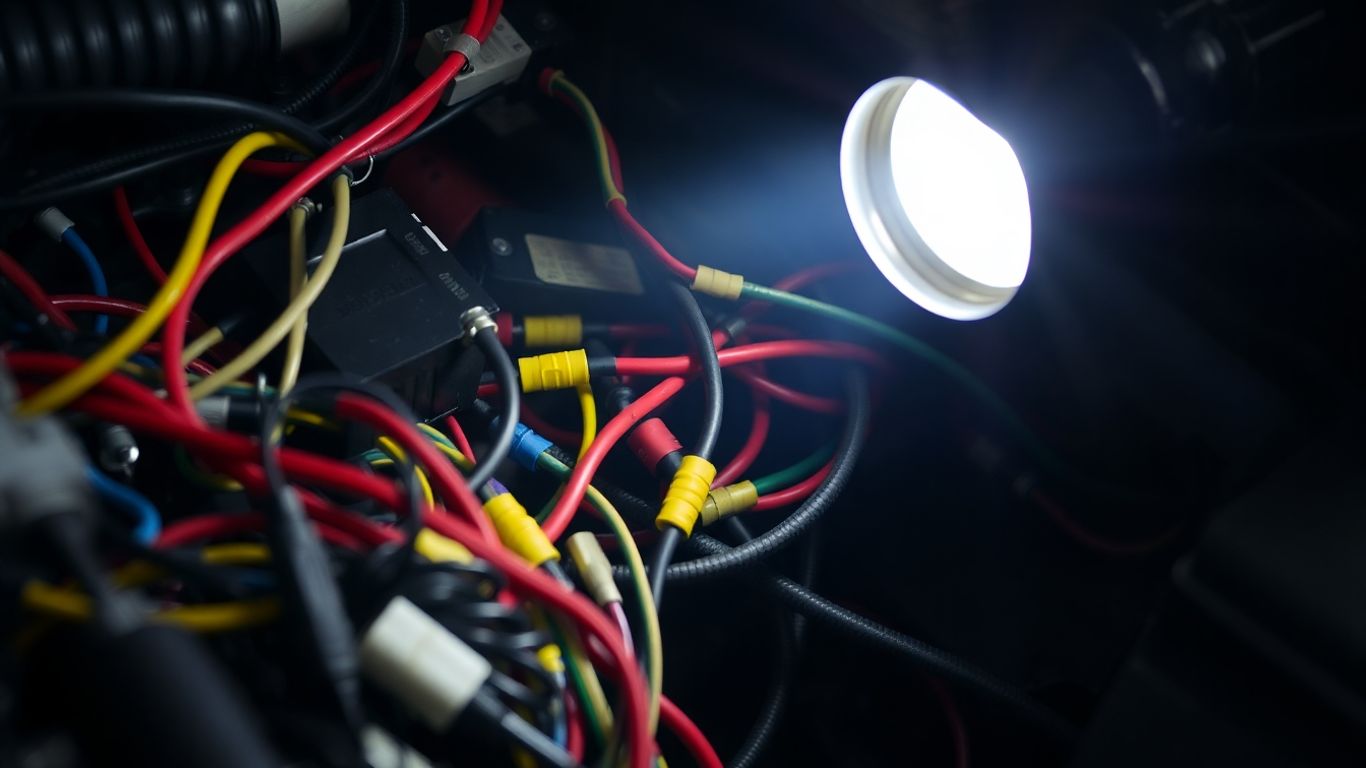
Troubleshooting Intermittent Problems
Intermittent electrical issues are the absolute worst. They’re hard to pin down because they don’t happen all the time. One minute everything’s fine, the next your turn signal decides to take a vacation. This is where patience really comes into play. Often, these problems are caused by loose connections, wires that are starting to fray, or a component that’s on its way out but not completely dead yet. Checking grounds is a big one; a corroded or loose ground can cause all sorts of strange behavior. Sometimes, wiggling a wire harness while the system is acting up can help you find the spot where the connection is bad. It’s a bit of a detective game, really.
When dealing with electrical problems, especially intermittent ones, it’s easy to get frustrated. Remember to take a step back, breathe, and approach it methodically. Rushing can lead to more mistakes and potentially damage other parts of the system. Sometimes, letting the car sit for a while can even make the problem disappear temporarily, which is part of what makes it so tricky.
Using Diagnostic Tools Effectively
Okay, so you’ve noticed a problem, and maybe you’ve even narrowed it down a bit. Now what? This is where your trusty diagnostic tools come in. A multimeter is your best friend here. You can use it to check for voltage, resistance, and continuity. For example, if your headlights aren’t working, you can use a multimeter to see if power is actually reaching the headlight bulb. A test light is simpler but still very useful for quickly checking if a circuit has power. For more complex issues, especially those related to the engine control module (ECM) or other computer-controlled systems, you might need a more advanced scan tool. These can read trouble codes stored in the car’s computer, giving you a direct clue about what the system thinks is wrong. Knowing how to use these tools properly is half the battle in figuring out what’s going on with your Chrysler.
Essential Tools for Chrysler Electrical Repair
Alright, so you’re diving into the electrical guts of your Chrysler. You can’t just wing it with a butter knife and hope for the best. You need the right gear. Having the proper tools makes a world of difference, turning a frustrating mess into a manageable fix.
Multimeters and Test Lights
First up, you absolutely need a multimeter. This is your go-to for checking voltage, resistance, and continuity. Think of it as your electrical system’s doctor, letting you see what’s actually happening with the power flow. A simple test light is also handy for quick checks to see if a circuit has power, but a multimeter gives you the real story. You’ll be using these constantly to trace problems, verify connections, and make sure everything is getting the juice it needs – or isn’t getting too much!
Wire Strippers and Crimpers
When you’re working with wires, you’ll inevitably need to cut, strip, and connect them. Good quality wire strippers are a must. You want ones that can handle different wire gauges without damaging the copper inside. Then there are crimpers. These are for attaching connectors, like butt connectors or spade terminals, to the wires. A solid crimp means a reliable connection, which is key to avoiding future headaches. Don’t skimp here; cheap tools can lead to loose connections and more electrical gremlins.
Specialty Chrysler Diagnostic Equipment
While a good multimeter and basic hand tools will get you far, sometimes Chrysler vehicles have specific quirks. For more complex issues, you might need specialized diagnostic equipment. This could include things like OBD-II scanners that can read trouble codes directly from your car’s computer. Some Chrysler models might also benefit from specific breakout boxes or adapter harnesses that allow you to test circuits without disconnecting them. If you’re dealing with a tricky, intermittent problem, this kind of gear can be a lifesaver, giving you a clearer picture of what the car’s computer is seeing.
Working on car electronics can feel intimidating, but with the right tools, it’s much more approachable. Think of them as your partners in crime-solving. They help you see the invisible, measure the unmeasurable, and make solid repairs that last. Don’t try to cut corners; invest in decent tools, and you’ll save yourself time, frustration, and potentially costly mistakes down the road.
Repairing Specific Chrysler Electrical Systems
Okay, so your Chrysler’s acting up electrically. Don’t panic. We’re going to break down how to tackle some of the most common issues you might run into. It’s not always as complicated as it seems, and with a bit of patience, you can get things working right again.
Addressing Lighting and Signal Malfunctions
Headlights flickering? Turn signals not working? This is a pretty common area for problems. Often, it’s as simple as a bad bulb, but sometimes it’s a bit more involved. First, check the bulbs themselves. Make sure they’re seated correctly and not corroded. If a bulb looks good, the next step is to check the fuse. Fuses are designed to blow when there’s too much current, protecting the circuit. You can usually find the fuse box under the dash or in the engine bay. Pull out the fuse that corresponds to the faulty light and inspect it. If the metal strip inside is broken, you need a new fuse. Always replace a blown fuse with one of the exact same amperage rating. If the fuse is good and the bulb is good, you’re likely looking at a wiring issue or a problem with the switch or relay. Using your multimeter, you can check for voltage at the connector where the bulb plugs in. If you have power there, the problem is likely the bulb or its ground connection. If you don’t have power, you’ll need to trace the circuit back using your wiring diagram to find where the signal is getting lost.
Diagnosing Starting and Charging System Failures
This is where things can get a little more serious, as a car that won’t start or dies while you’re driving is a big problem. The starting system and charging system work together. The battery provides the initial power to crank the engine, and once it’s running, the alternator recharges the battery and powers the car’s electrical needs. If your car won’t crank, it could be a dead battery, a bad starter motor, or a faulty ignition switch. Check your battery terminals first – make sure they’re clean and tight. A weak battery might still light up the dash but not have enough juice to turn the engine over. If the battery seems okay, you’ll want to test the starter. You can often do this by checking for voltage at the starter solenoid when someone turns the key. If the battery is draining quickly or your dash lights are dimming while driving, the alternator is likely the culprit. You can test the alternator’s output with a multimeter by measuring the voltage across the battery terminals while the engine is running. A healthy alternator should produce around 13.5 to 14.5 volts.
| Component | Common Symptoms | Basic Checks |
|---|---|---|
| Battery | No crank, slow crank, dim lights | Check terminal connections, test voltage (should be ~12.6V static) |
| Starter Motor | Clicking sound, no crank, slow crank | Check for voltage at solenoid when key is turned, inspect connections |
| Alternator | Battery warning light on, dimming lights, dead battery | Test output voltage while engine is running (should be ~13.5-14.5V) |
| Voltage Regulator | Overcharging or undercharging battery | Usually integrated into alternator; test output voltage as above |
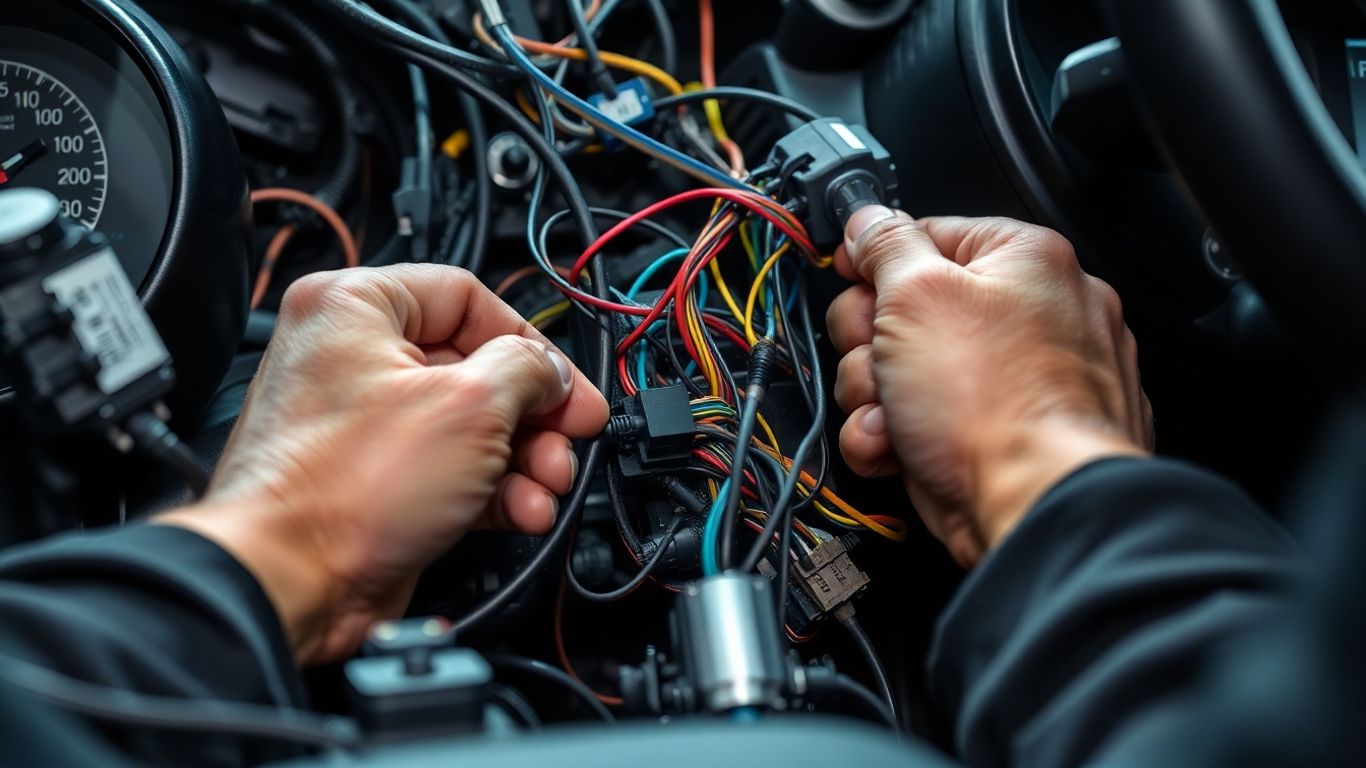
Troubleshooting Power Accessories and Controls
Power windows not rolling down? Door locks acting weird? These systems often involve more complex wiring, including relays, motors, and control modules. A good starting point is to check the fuses and relays associated with these accessories. Sometimes, a specific relay failing can take out multiple functions. If the fuses and relays are good, you’ll need to isolate the problem. For power windows, for example, you might check for voltage at the window motor itself. If you have power at the motor but it’s not moving, the motor is likely bad. If you don’t have power, you need to trace the wiring back through the switch and any control modules. These systems can be tricky because they often have multiple ground points and complex switching mechanisms.
When troubleshooting power accessories, remember that many of these systems have built-in protection features. Overloading a circuit or trying to force a stuck component can sometimes trigger these protections, making diagnosis more confusing. Always work methodically and consult your vehicle’s specific wiring diagrams.
It’s easy to get frustrated with electrical issues, but remember to take it one step at a time. Using the right tools and a good wiring diagram will make a huge difference.
Preventative Maintenance for Chrysler Electrical Integrity
Keeping your Chrysler’s electrical system in good shape isn’t just about fixing things when they break. A little bit of regular attention can save you a lot of headaches down the road. Think of it like changing the oil in your engine – it’s a simple task that keeps everything running smoothly.
Regular Inspection of Wiring Harnesses
Wiring harnesses are like the nervous system of your car. They carry all the signals and power to different parts. Over time, these wires can get frayed, pinched, or corroded, especially where they flex or rub against metal parts. You’ll want to give them a good look-over every now and then. Check for any signs of damage, like cracked insulation or exposed copper. Pay close attention to areas where the harness passes through the firewall or enters doors, as these spots see a lot of movement. If you find any damaged sections, it’s best to repair them promptly. Sometimes, a simple wrap with good quality electrical tape can do the trick, but if the damage is more severe, you might need to splice in a new section of wire. Don’t ignore even small nicks in the insulation; they can lead to short circuits.
Battery Health and Terminal Maintenance
Your battery is the heart of the electrical system, providing the juice to start the car and power everything when the engine’s off. Keeping the battery terminals clean and tight is super important. Over time, a white or bluish powdery substance, called corrosion, can build up on the terminals. This stuff is a real pain because it stops electricity from flowing properly. You can clean it off using a wire brush and a mixture of baking soda and water. Just make sure the engine is off and disconnect the battery cables before you start cleaning – negative first, then positive. After cleaning, reattach the cables, making sure they’re snug. A little bit of dielectric grease applied to the terminals after they’re clean and tight can help prevent future corrosion.
Here’s a quick look at typical battery terminal conditions:
| Condition | Description | Impact |
|---|---|---|
| Clean & Tight | Shiny metal terminals, cables firmly attached. | Optimal power flow, reliable starting. |
| Light Corrosion | Powdery white/blue residue, slight looseness. | Reduced power, potential starting issues. |
| Heavy Corrosion | Thick, crusty buildup, loose cables. | Severe power loss, frequent starting failures, component malfunction. |
Protecting Against Corrosion and Water Damage
Water and electricity don’t mix well, and corrosion is often the result of moisture getting into electrical connections. Chrysler vehicles, like any car, can be susceptible to this, especially if they’ve been driven in wet conditions or if seals have degraded. Look for any signs of water intrusion around connectors, fuse boxes, and control modules. If you find a wet connector, unplug it, dry it thoroughly, and consider applying a contact cleaner or protectant. Sometimes, a small amount of silicone sealant around the edges of a connector housing can help keep moisture out. Also, check the rubber grommets where wires pass through the body of the car; if they’re cracked or missing, water can easily get in. Replacing these is a cheap fix that can prevent big electrical problems later on.
Wrapping It Up
So, we’ve gone over a lot of ground when it comes to Chrysler’s electrical systems. It can seem like a lot, especially when you’re staring at a mess of wires. But remember, most problems aren’t some big mystery. They’re usually down to a loose connection, a blown fuse, or a worn-out part. Taking it step-by-step, using your wiring diagrams, and not being afraid to test things out will get you pretty far. Don’t get discouraged if it takes a bit of time. Fixing these things yourself can be really rewarding, and now you’ve got a better handle on what’s going on under the dash and hood of your Chrysler.