Key Takeaways
Finding the right lighting components requires patience and careful verification of your vehicle specs to ensure a perfect fit. This guide outlines the essential steps for sourcing and installing reliable parts for your car.
- Verify your specific part number using your vehicle identification number.
- Understand the technology difference between halogen, LED, and HID units.
- Research seller history before committing to any online purchase.
- Inspect housing and lens condition for signs of long-term wear.
- Follow official installation procedures to maintain proper beam alignment.
Understanding your specific Chrysler headlight needs
Every vehicle model has nuanced electrical and physical requirements that dictate which lamp assemblies will actually work. Choosing the wrong unit can lead to connectivity issues or failure to mount properly to the frame, wasting both your time and your budget. By focusing on your unique vehicle specifications, you ensure that the replacement performs exactly like the original.
Identifying the exact part number
Most modern vehicles require a specific part number associated with either the manufacturing date or the trim level. Simply choosing a model name is often insufficient, as internal wiring harnesses frequently change during the production cycle. Always use your seventeen-digit vehicle identification number to cross-reference the exact part catalog for your specific Chrysler unit.
Distinguishing between halogen, LED, and HID systems
Technological differences between lighting types go beyond simple appearance and affect the internal wiring of your car. While halogen lights remain common, HID and LED systems require distinct ballasts or drivers to function correctly. Ensure your replacement matches the system currently installed to avoid complex electrical modifications or system error codes.
Checking compatibility across model years
Even if two cars share the same model name, their front-end architecture might have evolved, making parts non-interchangeable. Checking compatibility logs or contacting a parts specialist ensures that the second hand Chrysler headlights you purchase align with your vehicle’s specific design. Researching these details early saves you from the frustration of discovering that a mounting point is misaligned during the final assembly.
Where to source high-quality second hand Chrysler headlights
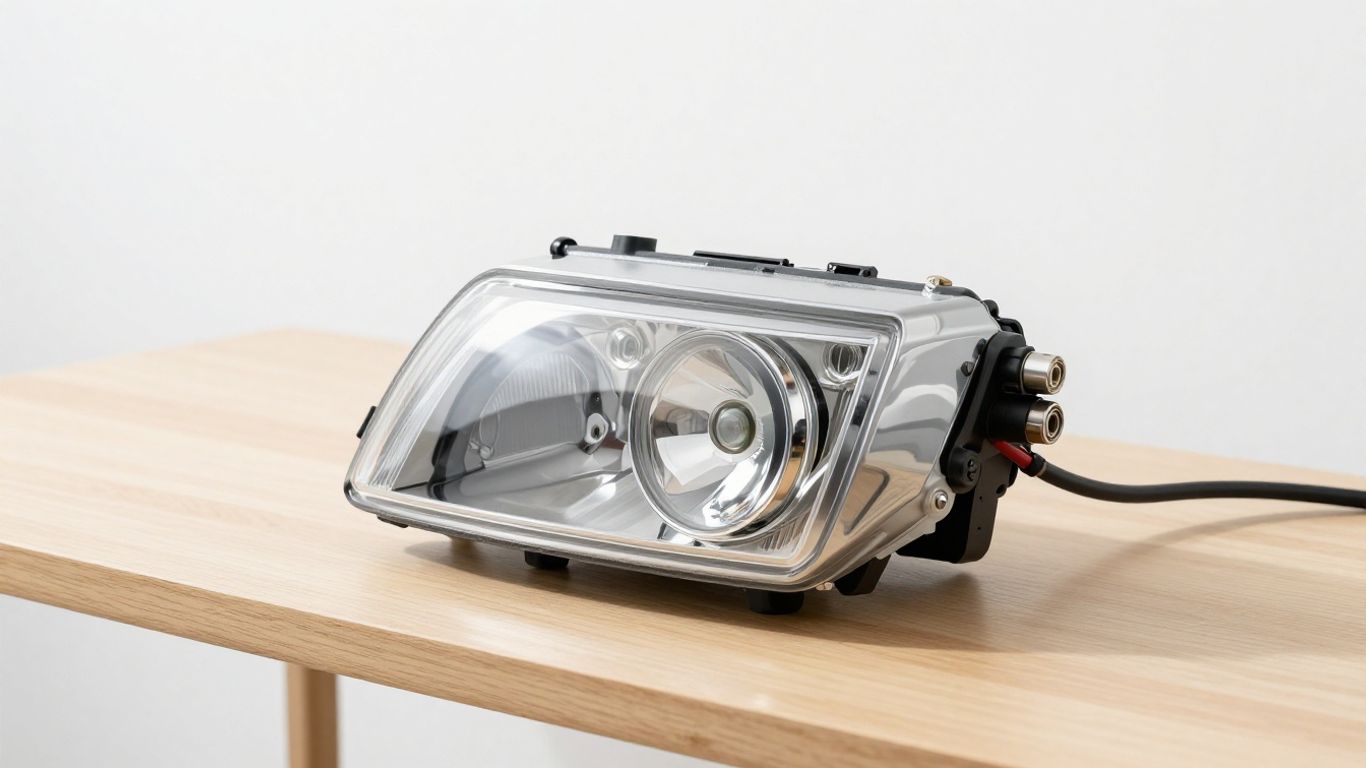
Finding reliable components often involves looking beyond standard retail channels and tapping into professional salvage networks. These suppliers often provide parts that have been thoroughly tested for operational integrity and clear lens aesthetics. Choosing the right source helps you balance the cost savings of used parts with the confidence that comes from a reputable seller.
Navigating online auto salvage marketplaces
Digital marketplaces allow you to browse inventory from hundreds of suppliers simultaneously, offering a vastly wider selection than a local search. These platforms usually categorize parts by condition, age, and mileage to help you determine value. Filtering search results by these criteria allows you to isolate high-quality inventory quickly.
Benefits of local junkyards versus digital search
Visiting a local scrapyard allows you to inspect the item visually before handing over any payment. You might see the condition of the donor vehicle, which provides context for how the part was handled. However, digital searches offer convenience and often include buyer protections that local salvage lots might not provide.
Inspecting seller reputation and buyer protection policies
Before finalizing any transaction, read through the reviews provided by previous customers to gauge the seller’s transparency regarding part condition. Look for clear policies that cover shipping damage or functional defects upon arrival. Solid return policies act as a safety net when dealing with sensitive and potentially fragile automotive components.
Evaluating the condition of used headlights
Assessing a pre-owned light assembly requires a sharp eye, as small defects can turn into major failures shortly after installation. It is better to reject a part during your initial review than to face the labor-intensive process of replacing it again later. Focusing on the durability of the housing and the clarity of the lens will help you verify the long-term value of your purchase.
Spotting signs of UV damage and oxidation
Yellowing or cloudiness on the surface indicates that the protective factory coating has deteriorated over years of exposure. Minor oxidation is often superficial and can be treated, but deep damage suggests that the lens material has become brittle. We categorize the typical defects encountered during an inspection in the table below.
| Defect Type | Severity | Potential Outcome |
|---|---|---|
| Surface Haze | Low | Removable via sanding |
| Deep Cracking | High | Moisture ingress likely |
| Broken Tabs | Medium | Unstable fitment risk |
Carefully assessing these markers ensures you understand exactly how much work a restoration might require. Investing in a unit with structural integrity is more important than achieving a perfectly clear finish on day one.
Checking for plastic housing cracks and broken assembly tabs
Plastic housings are susceptible to stress fractures, especially after minor collisions or years of thermal cycling. Pay close attention to the mounting tabs, as any hairline fractures here will lead to vibrations or loose fitment once installed on your vehicle shell. Even a small crack in the housing base can ruin the seal, allowing moisture and debris to enter the electronic chamber.
Confirming that internal electronics and seals remain intact
A headlight assembly is a sealed environment designed to protect sensitive components from the elements. Look closely at the gasket interfaces for dry rot or gaps that would allow water to pool inside the lamp. If the rubber seals look compressed or cracked, the unit will likely fog up internally as soon as the weather turns cold or rainy.
Logistics for buying auto parts online
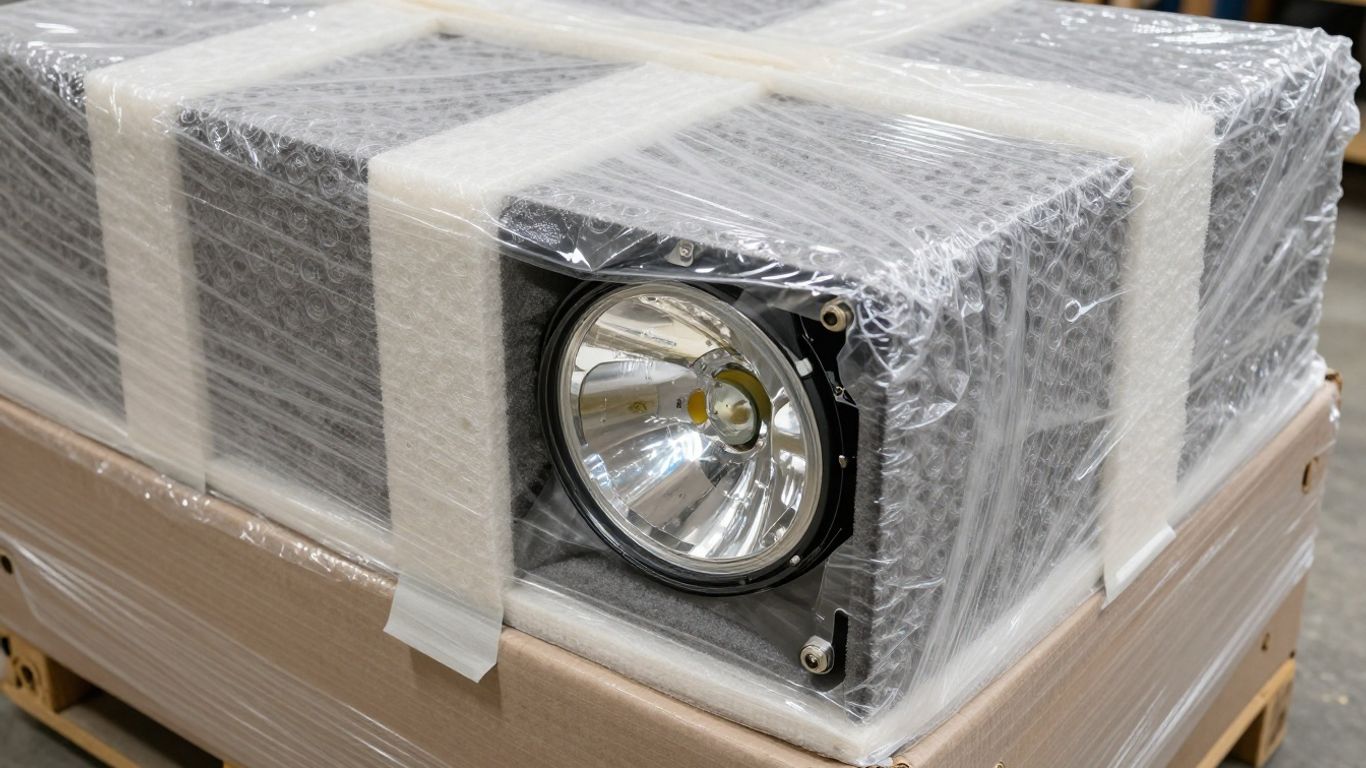
Shipping automotive components requires careful planning to ensure the parts arrive in the same condition they were in when they left the warehouse. Fragile plastics and complex wiring harnesses are susceptible to transit damage if the item is not stabilized properly. Investing time in evaluating the seller’s logistical standards is just as important as evaluating the hardware itself.
Calculating shipping costs for fragile components
Shipping fees for large and delicate items like these often reflect the overhead of specialized packing materials. Because these units are irregularly shaped, carriers may charge based on dimensional weight rather than actual mass. Always confirm these costs upfront to avoid unexpected price spikes that might erase the intended savings.
Understanding return policies on used electrical parts
Quality parts are designed to last, but electrical components can fail unexpectedly after being reconnected to a new power source, making clear policies essential for every transaction.
Having a defined understanding of how a seller handles functional failures provides peace of mind when ordering from a distance. If the component does not activate upon arrival, knowing the exact terms of the return policy protects your investment. Most reputable sellers will outline their position on electrical parts specifically, acknowledging the complexity of the installation process.
Identifying proper packaging requirements to prevent transit damage
Insist on double-wall cardboard boxes and generous padding for any fragile glass or plastic surfaces. If a seller mentions thin wrapping or single-layer boxes, there is a high likelihood of surface scuffs or broken mounting points by the time it reaches your door. Proper stabilization within the box is the difference between a successful upgrade and a return headache.
Installation and testing procedures
Successfully installing a headlight typically involves basic hand tools and a careful approach to vehicle trim. While the process is generally straightforward, rushing the steps often leads to broken clips or misaligned beam patterns. Patience during the assembly phase allows you to verify every connection before closing everything up for final use.
Assessing the need for professional installation services
If your vehicle features complex active lighting or requires bumper removal for access, calling in a professional might be the safest course of action. Professionals have the experience to handle delicate harness connectors without causing damage to the surrounding body panels. Performing a quick check of your service manual will clarify how invasive the necessary work will actually be.
Tools required for basic Chrysler headlight replacement
Basic automotive maintenance usually calls for a standard set of sockets, flat-head screwdrivers for trim pins, and a trim removal tool. Having the right tools on hand prevents the marring of plastic panels or fastener heads. A clean workspace and a small tray for your hardware keep the process organized and reduce the risk of losing small components.
Calibrating beam alignment after assembly
Once the unit is firmly in place, beam calibration is the final and most important step for road safety. Aiming the headlights too high or too low affects your visibility and can pose a danger to oncoming traffic. Use a flat wall surface to confirm that both lights hit the horizontal target consistently after your installation is complete.
Restoration tips for older second hand housings
Restoring a slightly weathered set of housings can return them to a like-new state, extending the life of your vehicle parts effectively. Consistent maintenance not only improves the cosmetic appearance but also increases the efficacy of the light output during night driving. Focusing on the lens surface helps maintain a sharp, clean look that complements the rest of your vehicle.
Wet sanding techniques for removing cloudy lens layers
Start with a high-grit abrasive paper submerged in water to gently remove the outer layer of oxidized plastic. Progress through finer grits to refine the surface, checking for a uniform matte finish across the entire lens. Patience is crucial here; taking the time to evenly sand the lens prevents visible imperfections that could impact light diffusion later.
Applying UV-resistant clear coat to prevent future yellowing
After achieving a restored surface, applying a dedicated UV-resistant coating is essential for long-term clarity. This finish acts as a barrier against solar damage and prevents the plastic from quickly reverting to its previous hazy state. Apply thin, even layers in a clean environment to ensure a smooth, professional result that will hold up against the weather.
When to consider aftermarket lens replacement kits versus full housing replacement
Lens replacement kits are a viable option when the housing structure is perfectly sound but the front plastic has become hopelessly clouded. However, if the internal reflector bowls have lost their reflective coating or the main seals have failed, a full housing replacement is the only reliable choice. Assessing the total condition of the unit allows you to pick the most economical path that delivers the best result for your driving needs.
Conclusion
Successfully replacing your lighting components is a rewarding task that balances cost-efficiency with functional restoration for your vehicle. By carefully identifying the correct part, vetting your source, and performing a precise installation, you ensure your car remains safe and reliable on the road for years to come. Remember that thorough preparation is the greatest shortcut in automotive maintenance, and your extra efforts will clearly reflect in the quality and longevity of your new setup.